
Home & Gym
Soccer players spend considerable time choosing cleats, yet the layer between the foot and the boot often receives far less attention. That layer can influence how closely the footwear fits, how moisture is managed and how much unwanted movement a player feels during stops, cuts and changes of direction. Grip socks have become common from youth academies through adult competition, but a silicone pattern alone does not make every pair perform the same way. Thickness, fiber selection, fit and construction all matter. The best choice is not necessarily the sock with the largest grip elements or the loudest performance claims. It is the one that works as part of the player’s complete foot–sock–cleat system. Why Movement Inside the Cleat Matters The studs on a soccer cleat are designed to interact with the playing surface. Inside the boot, however, another interface exists: the foot moves against the sock, and the sock can move against the insole. That does not mean a sock will make a player faster or prevent injury. Those outcomes depend on many factors, including strength, technique, footwear, field conditions and training. A well-designed performance sock has a narrower job: help create a secure, consistent fit without adding unnecessary bulk. This distinction is important. Grip should support the footwear setup, not compensate for cleats that are the wrong size or shape. If the toes are compressed, the heel lifts significantly or the upper does not match the foot, changing socks will not solve the underlying fit problem. What Should Players Evaluate? When comparing soccer grip socks, players should look beyond the sole pattern and consider the complete construction. 1. Grip Placement External grip elements are intended to increase friction between the sock and the cleat’s insole. Placement matters as much as visual size. Traction should cover the areas used […]

In competitive sports, the difference between a podium finish or an early exit often comes down to fractions of a second or millimeter adjustments in biomechanics. For decades, traditional sideline-based video capture has been the staple for coaches and athletes alike in terms of assessing form, footwork, and tactical execution. Stationary cameras and recordings on tablets give valuable perspective, but have a major limitation in that they record how an athlete looks on the outside, rather than what they actually experience in real time. As wearables expand beyond wrist-based heart rate monitors and GPS trackers, hands-free smart frames are opening a whole new frontier in sports performance analysis. High-definition visual capture is embedded directly into lightweight athletic frames by smart glasses, giving athletes and trainers the ability to review point-of-view (POV) footage, analyze eye-line focus, and dissect movement patterns from the exact perspective of the competitor. The Power of Real POV Video for Sports Analysis Traditional video analysis requires a third-person camera setup. A third-person shot, whether it’s a coach with a smartphone on the sideline or an automated tripod following a runner along a track, creates an observational gap. It shows the result of a move, but not the visual cues and decision-making triggers that cause it. Metric / Feature Traditional Video Sideline Point-of-View (POV) Capture Camera Angle Third-person view First-person POV Type of Viewpoint Static outside observer Actual eye-line sight lines Operating Mode Manual camera control Automated hands-free capture Initial Analysis Shows physical outcome Visual capture of decisions Hands-free video recording provides unique performance insights across a variety of sports: Cyclists and Runners: Keep an eye on head position, neck posture, and visual scanning patterns while passing technical trails or congested packs. Golfers and Tennis Players: Check the stability of the head at the moment of impact with […]
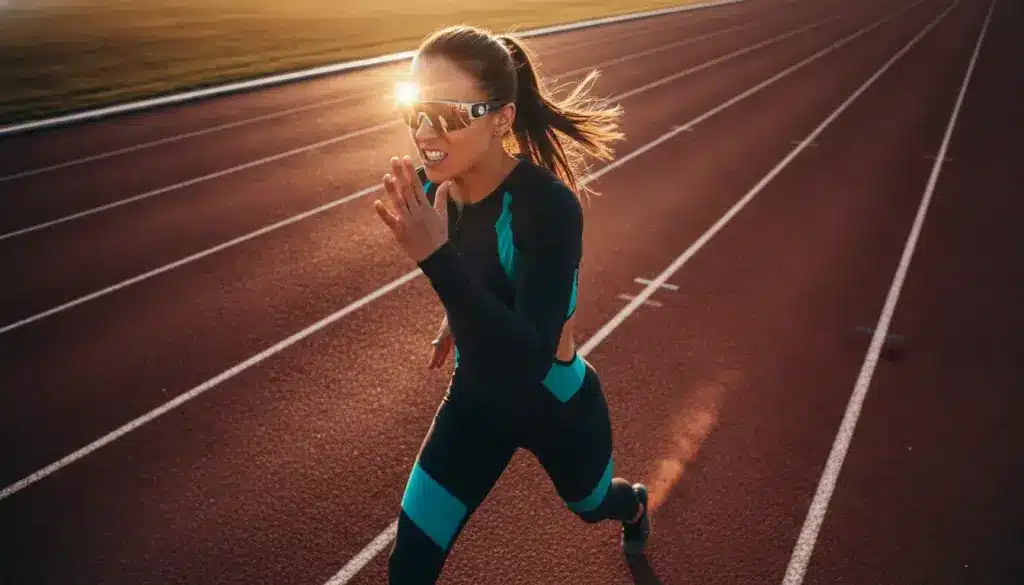
Serious athletes rarely rely on talent alone. Whether they compete at the highest level or simply enjoy pushing their own limits, consistent gym training builds the physical foundation that supports better performance. Strength, mobility, endurance, recovery, and injury prevention all improve when workouts follow a structured plan. While sport-specific practice remains essential, the gym creates opportunities to strengthen weak points, improve movement quality, and prepare the body for greater demands. Athletes who train with purpose often discover that progress happens long before they step onto a field, court, trail, or track. Build Strength That Transfers to Performance One of the biggest advantages of training in a gym is access to equipment that allows progressive overload. Gradually increasing resistance helps muscles, tendons, and connective tissue become stronger over time. This approach improves power, stability, and resilience across nearly every sport. Many gyms in El Paso, Jacksonville and Miami that offer advanced strength equipment, functional training spaces, and experienced coaching make it easier for athletes to follow programs tailored to their goals. Instead of repeating the same routine every week, athletes can cycle through phases that emphasize strength, explosive power, muscular endurance, and recovery. This variety reduces plateaus while encouraging long-term improvement. Strength training also supports better movement mechanics. Stronger hips, core muscles, shoulders, and legs help athletes generate more force while maintaining proper form. Better mechanics often translate into faster sprinting, higher jumping, harder throwing, and greater efficiency during competition. Reduce Injury Risk While Improving Recovery Training harder only works when the body can recover and remain healthy. The gym provides an environment where athletes can strengthen smaller stabilizing muscles that often receive little attention during sport-specific practice. These muscles help protect joints while improving balance and coordination. Mobility work, flexibility exercises, resistance bands, cable machines, and recovery equipment all contribute […]
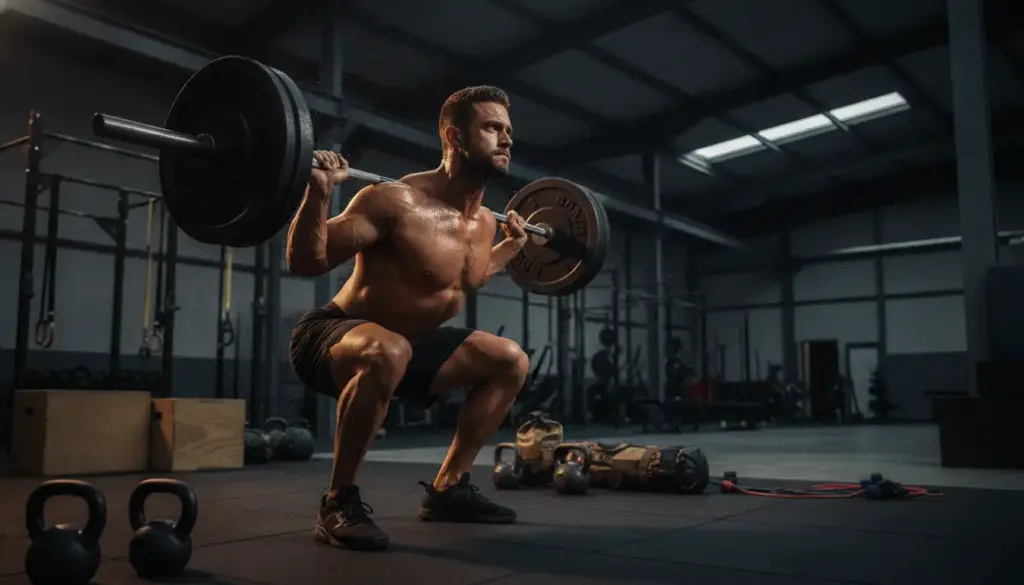
Ever feel like your softball skills go on pause the moment the weather turns bad or the season ends? Missing the field doesn’t have to mean missing valuable practice. With the right drills, a garage, basement, hallway, or gym can become an effective training space. Many essential softball skills, including hitting, throwing, fielding, footwork, and reaction time, can be developed indoors using minimal equipment. This guide shares practical indoor softball drills that help players make the most of limited space, stay consistent during the off-season, and continue building confidence until it’s time to get back on the field. Why Does Indoor Practice Work? Indoor practice is an effective way to keep softball skills sharp when outdoor fields are unavailable. Regular repetitions help reinforce muscle memory, making movements feel more natural during games. A small space still works well for practicing throwing, swinging, glove work, footwork, and reactions. Short, focused sessions also make it easier to identify and correct small mistakes before they become habits. Many coaches encourage consistent skill work during the off-season because steady practice often leads to better performance once competition resumes. With a few basic training tools and a safe practice area, players can continue developing confidence and consistency year-round. The key is to focus on quality movements rather than the amount of space available or the length of each session. Essential Equipment for Indoor Softball Training Having the right equipment makes indoor softball practice safer, more effective, and easier to organize. Most drills require only a few basic training tools that help improve skills while protecting players and indoor spaces. Equipment Purpose Best For Foam or Reduced-Flight Softballs Improve skills safely while reducing the risk of injury or damage indoors. Throwing, catching, hitting Batting Tee Creates a consistent point of contact to build proper swing mechanics. […]


A solar generator is now a serious backup option for U.S. homes, not just a camping
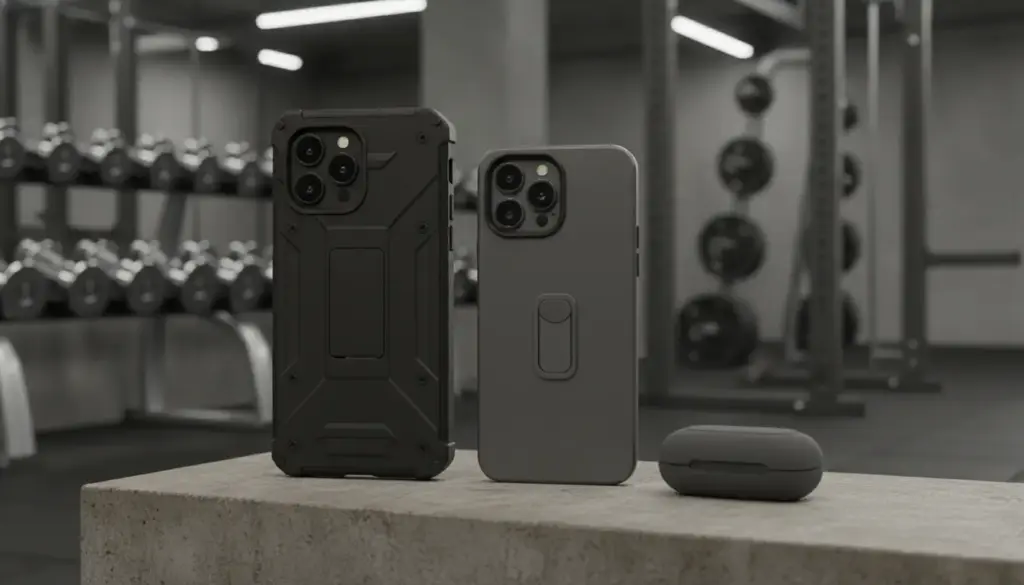
If you’re the kind of person who doesn’t put your phone away when you work out
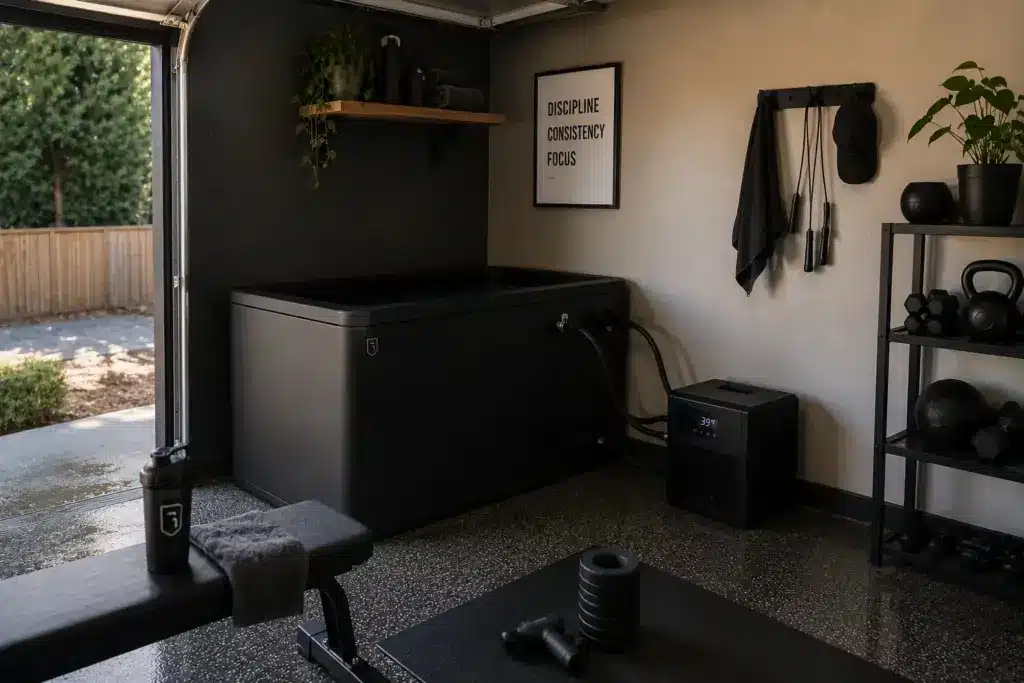
Recovery matters as much as the workout itself. Cold-water immersion has moved out of pro sports
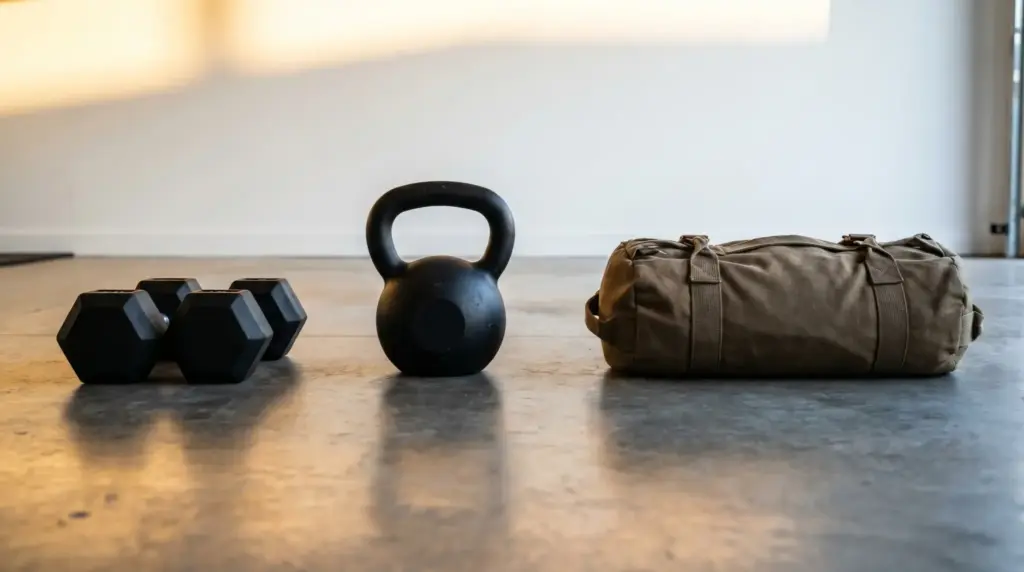
Setting up a home gym means making smart choices about which equipment will actually help you

The performance gap between athletes competing at the highest level has never been smaller. In almost
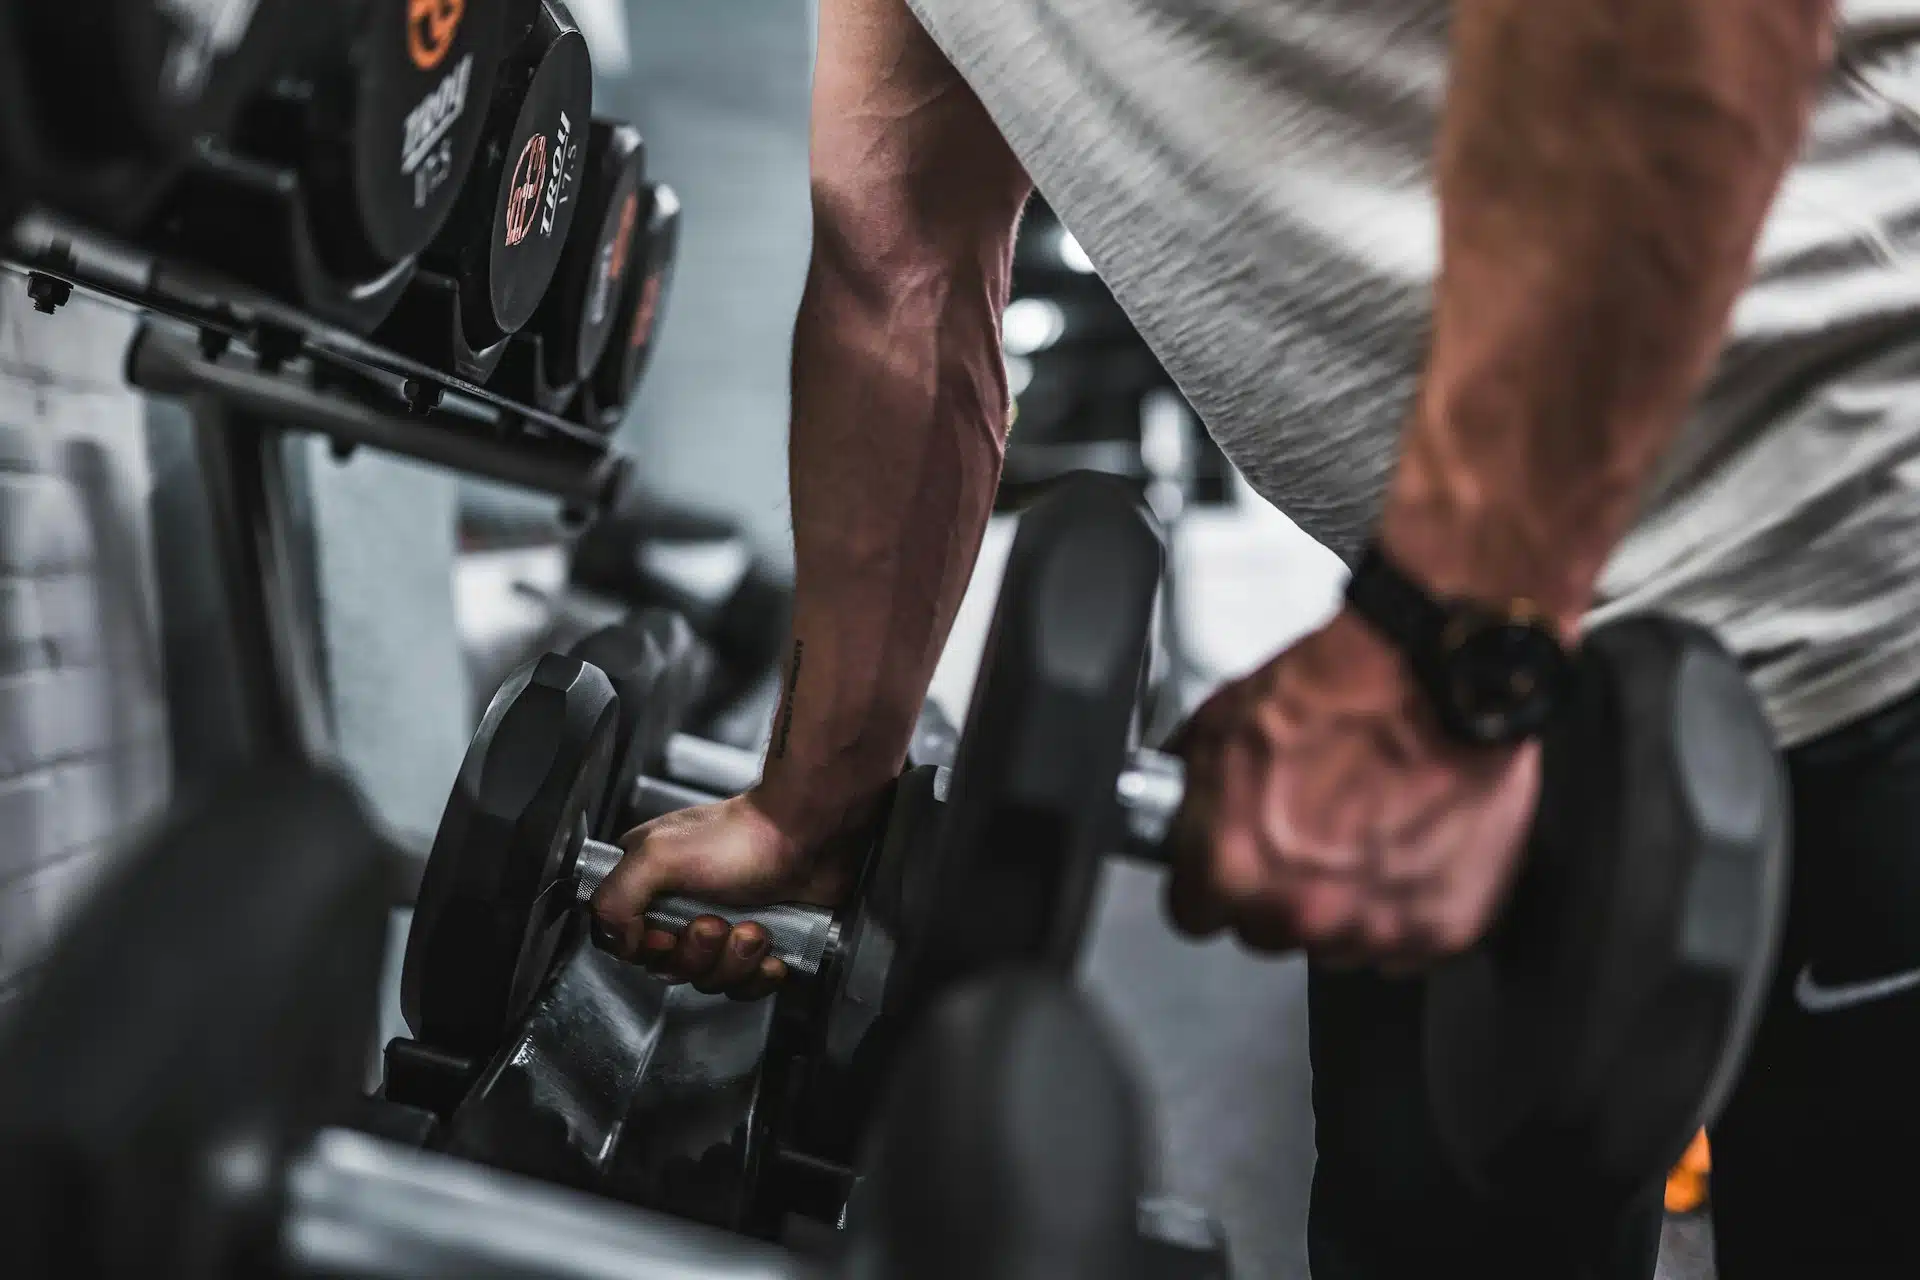
Trying to squeeze in a workout when your calendar’s already full? Yeah, it’s tough. Most of
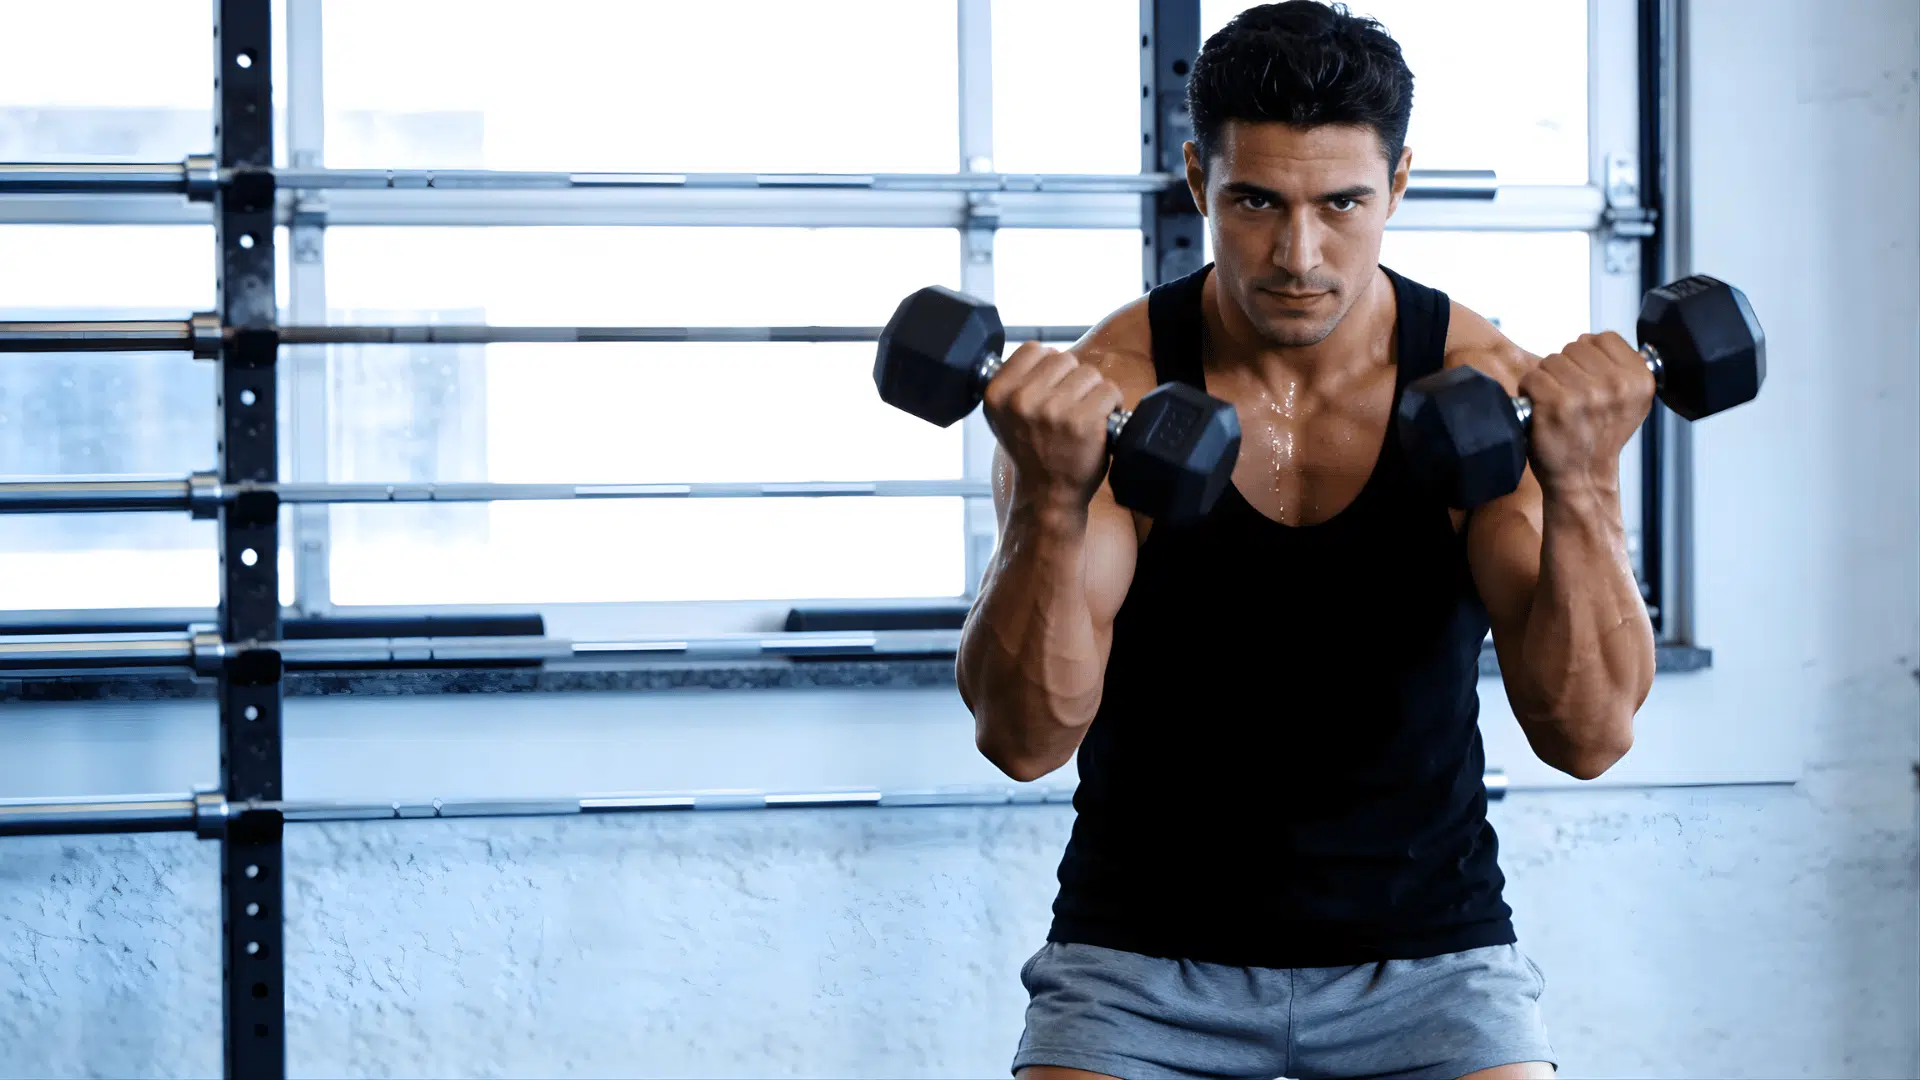
I’ve worked with many people who want stronger arms but feel unsure about where to begin.
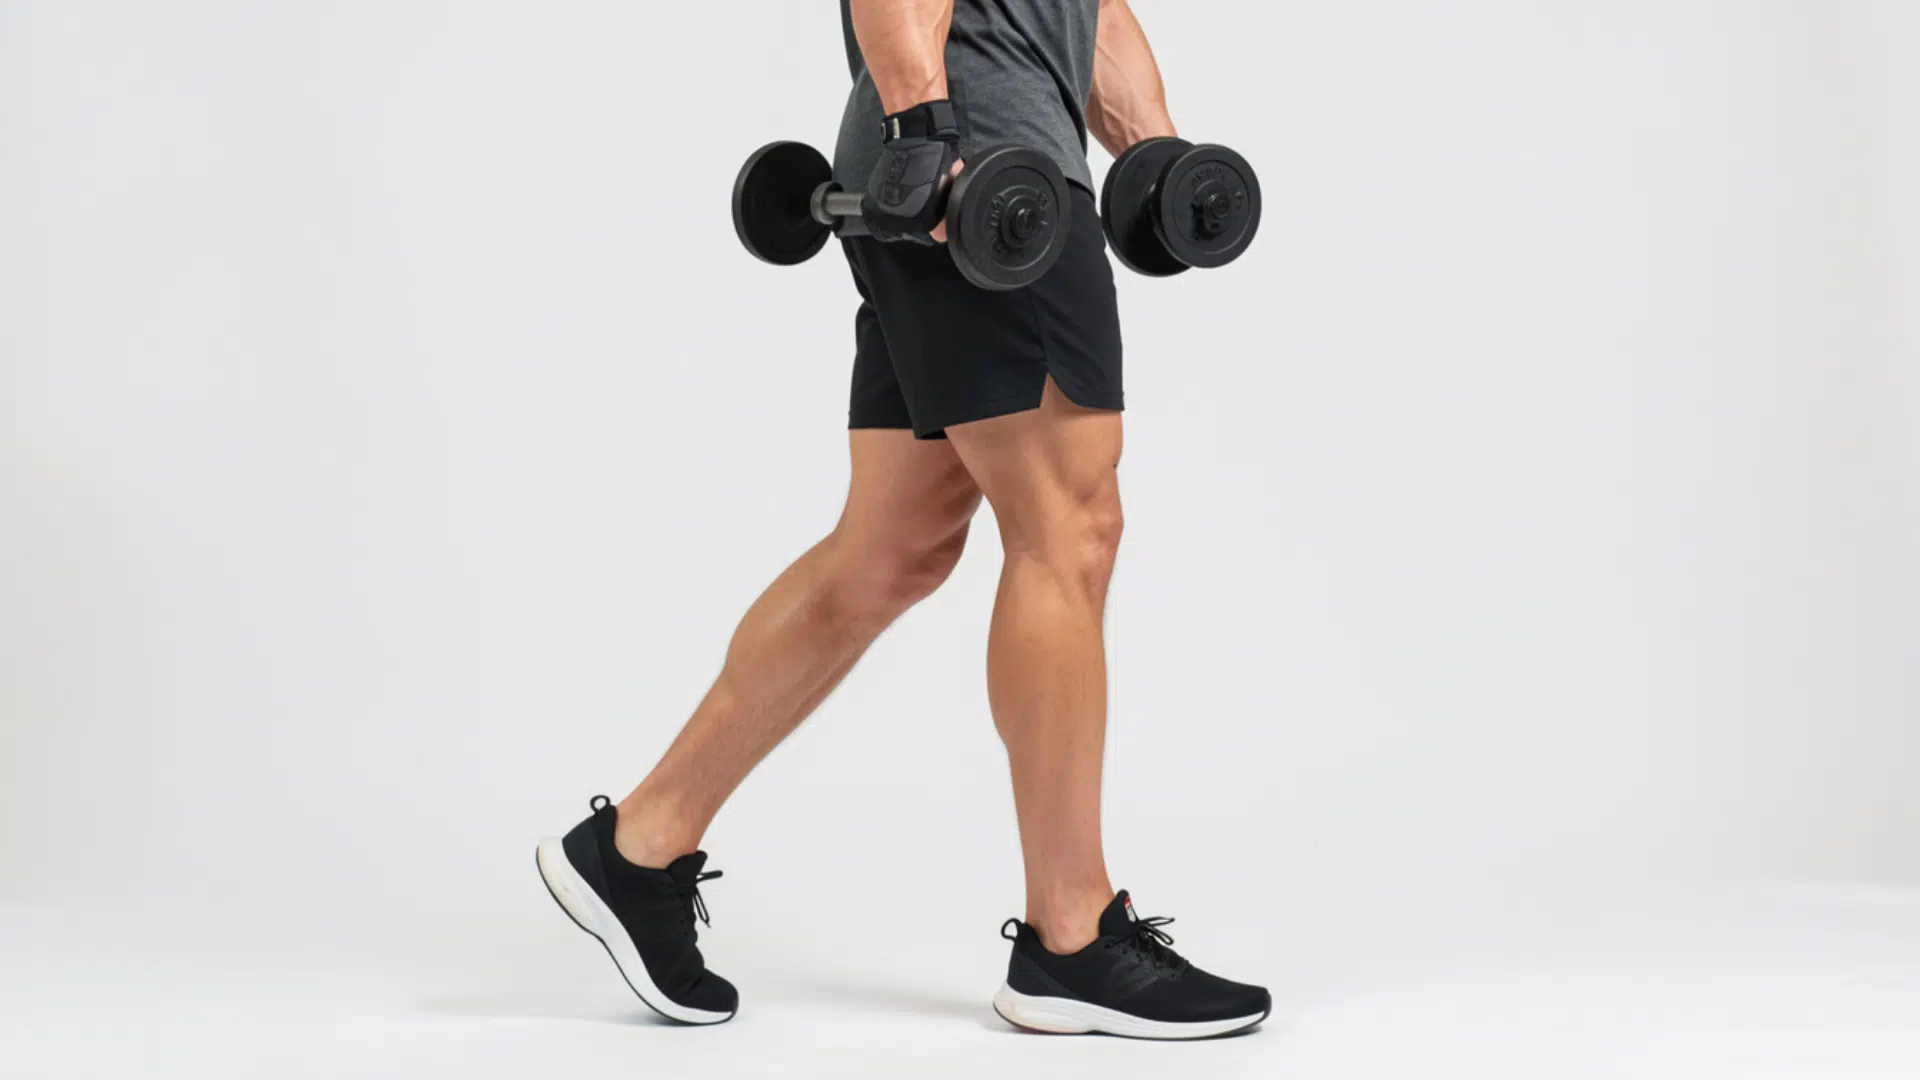
I know how frustrating it can feel when your legs look strong, but your calves don’t
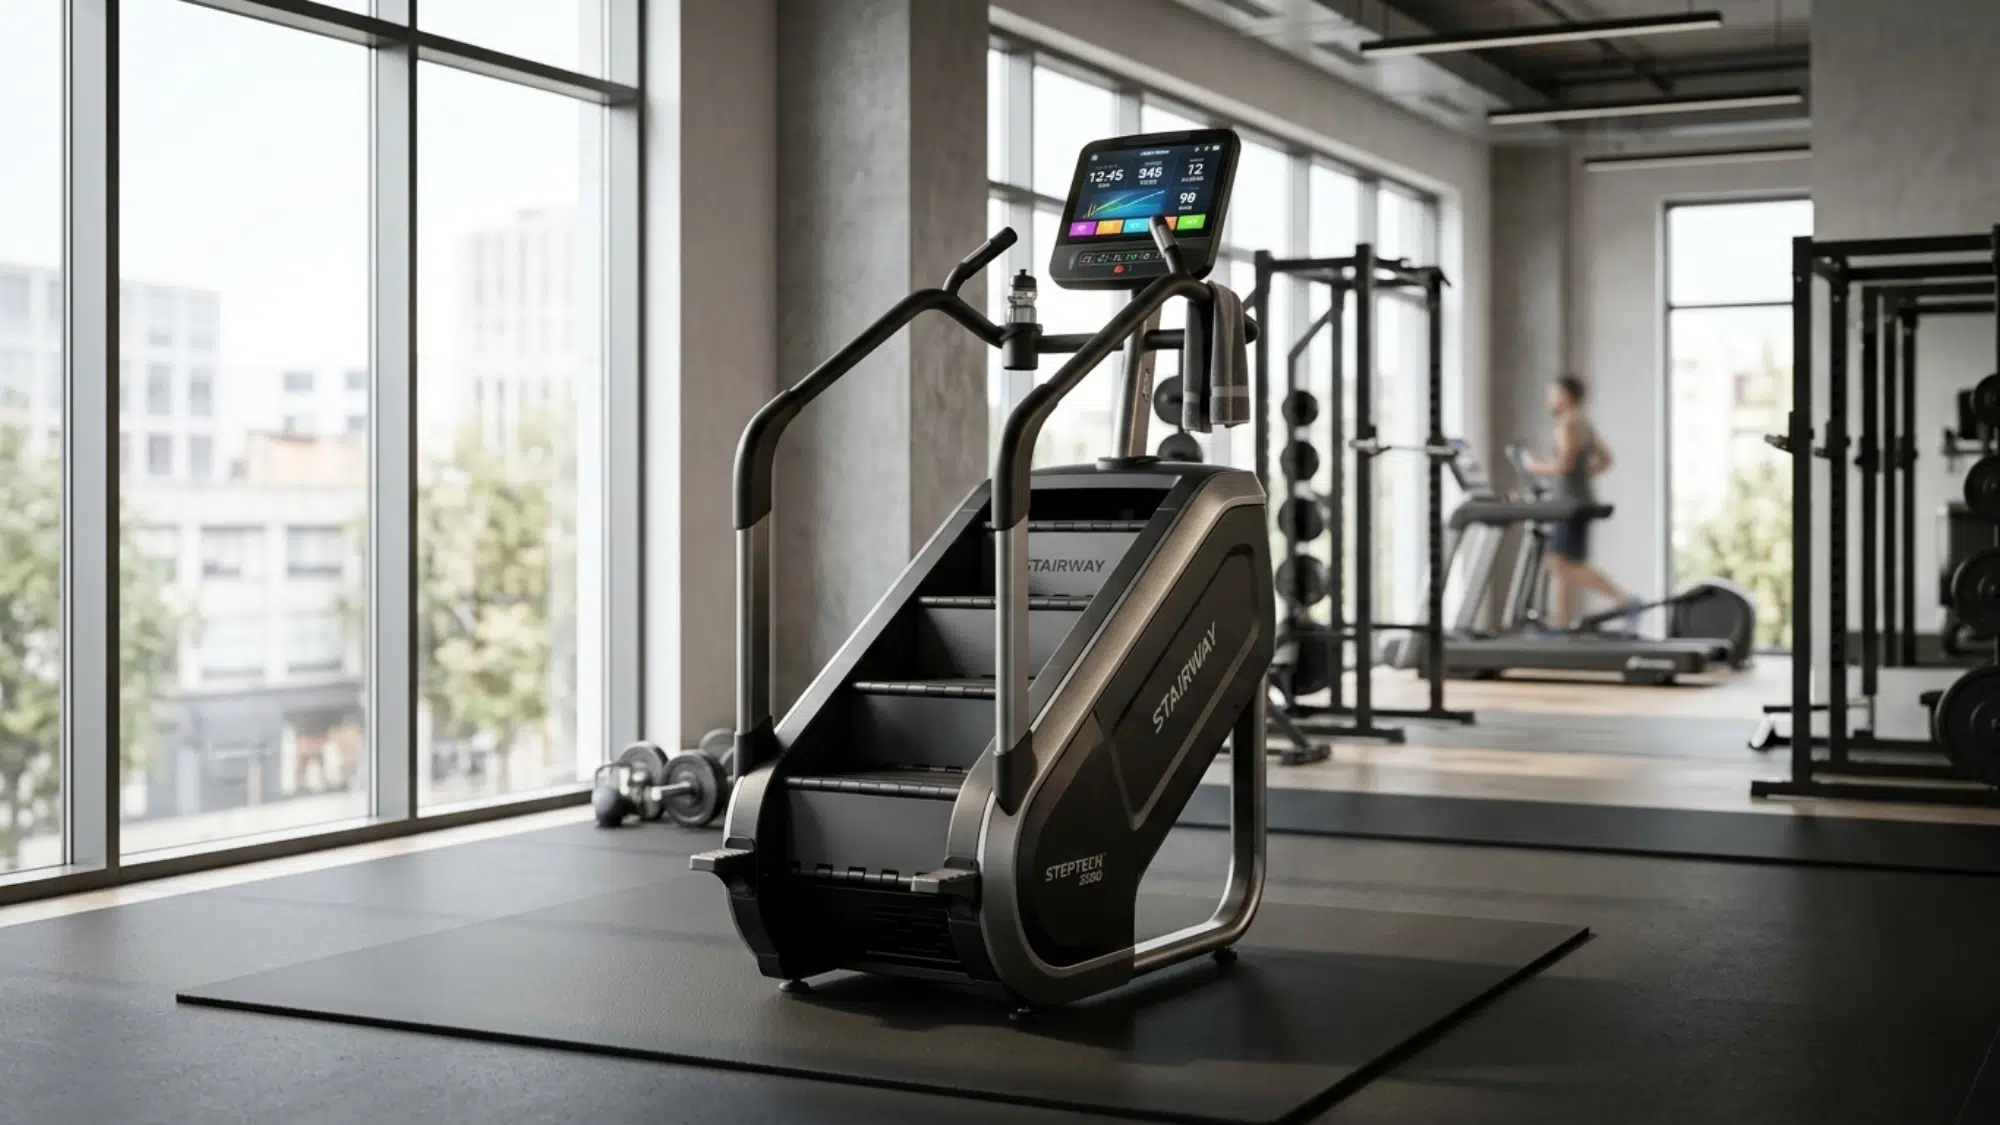
I used to think cardio had to be boring to work. Then I tried a stair
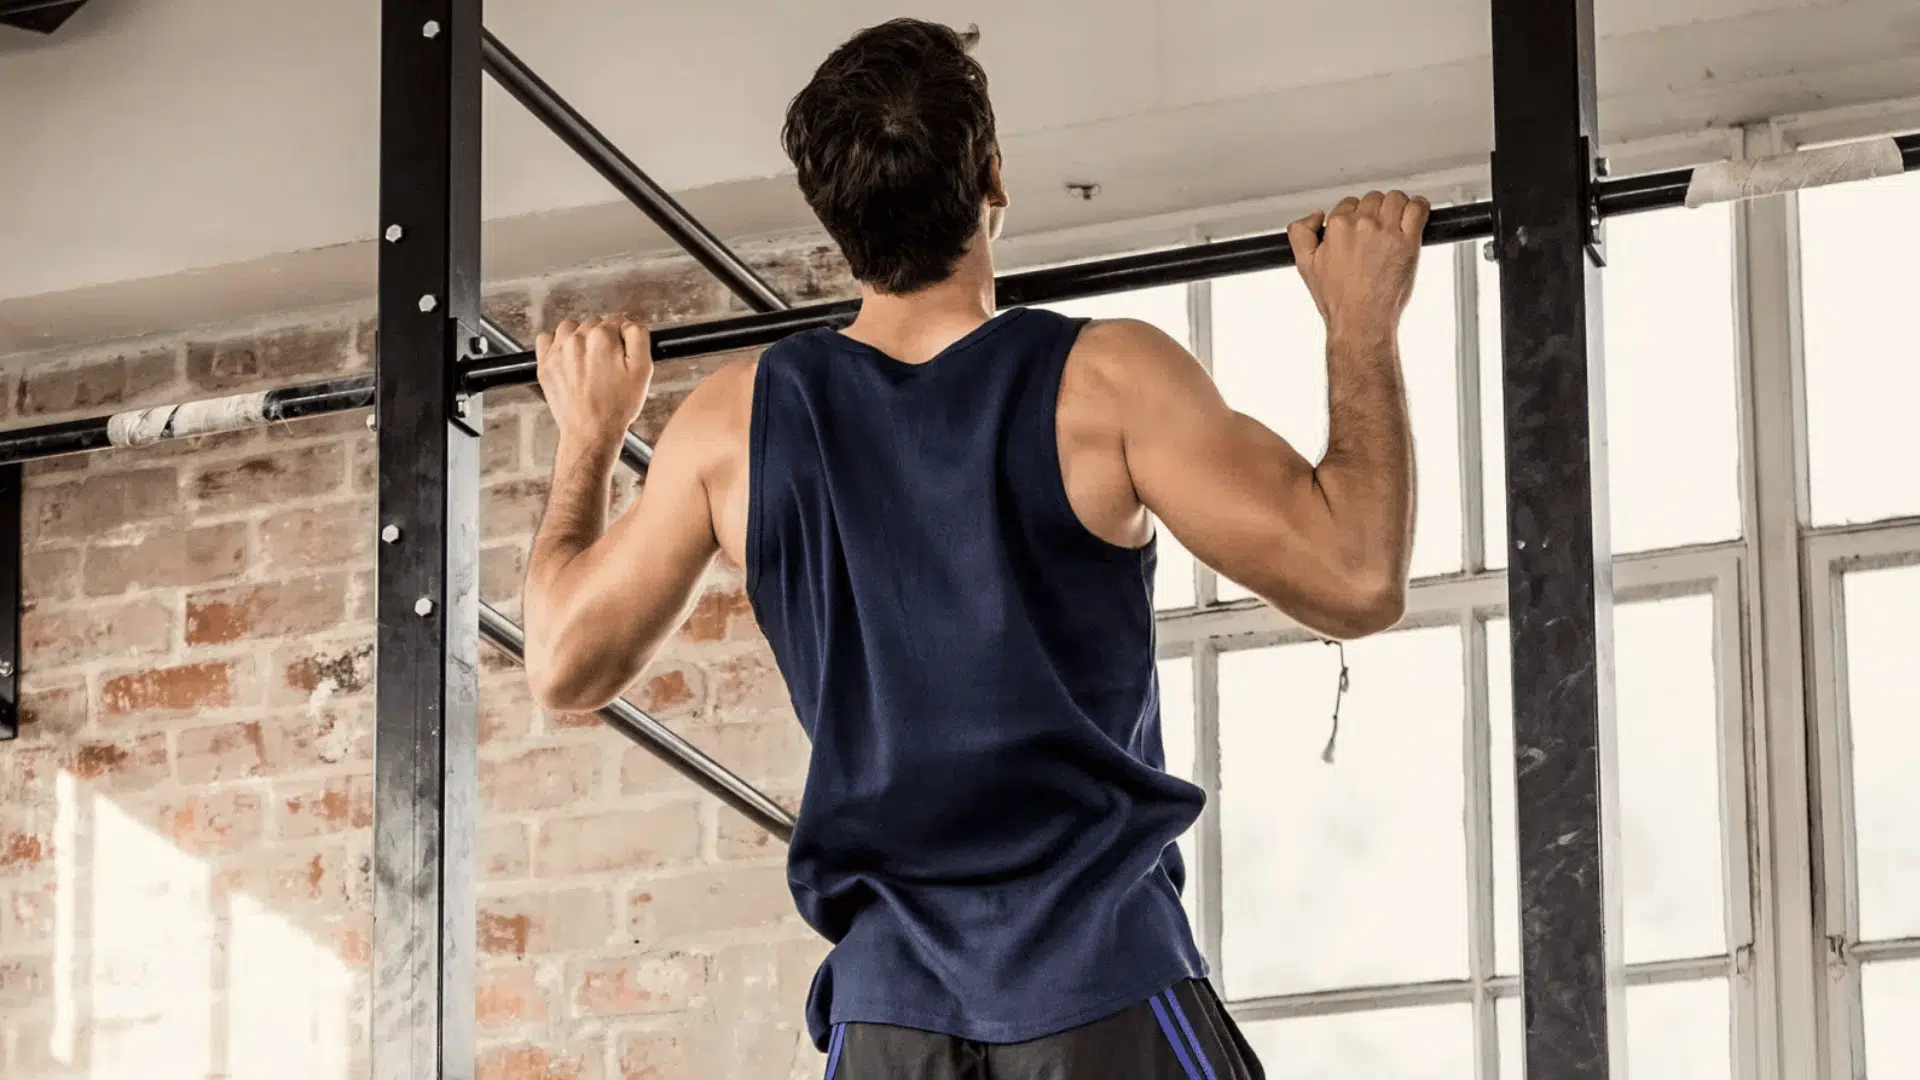
I often get asked what muscles pull-ups really work, and the simple answer is this: they
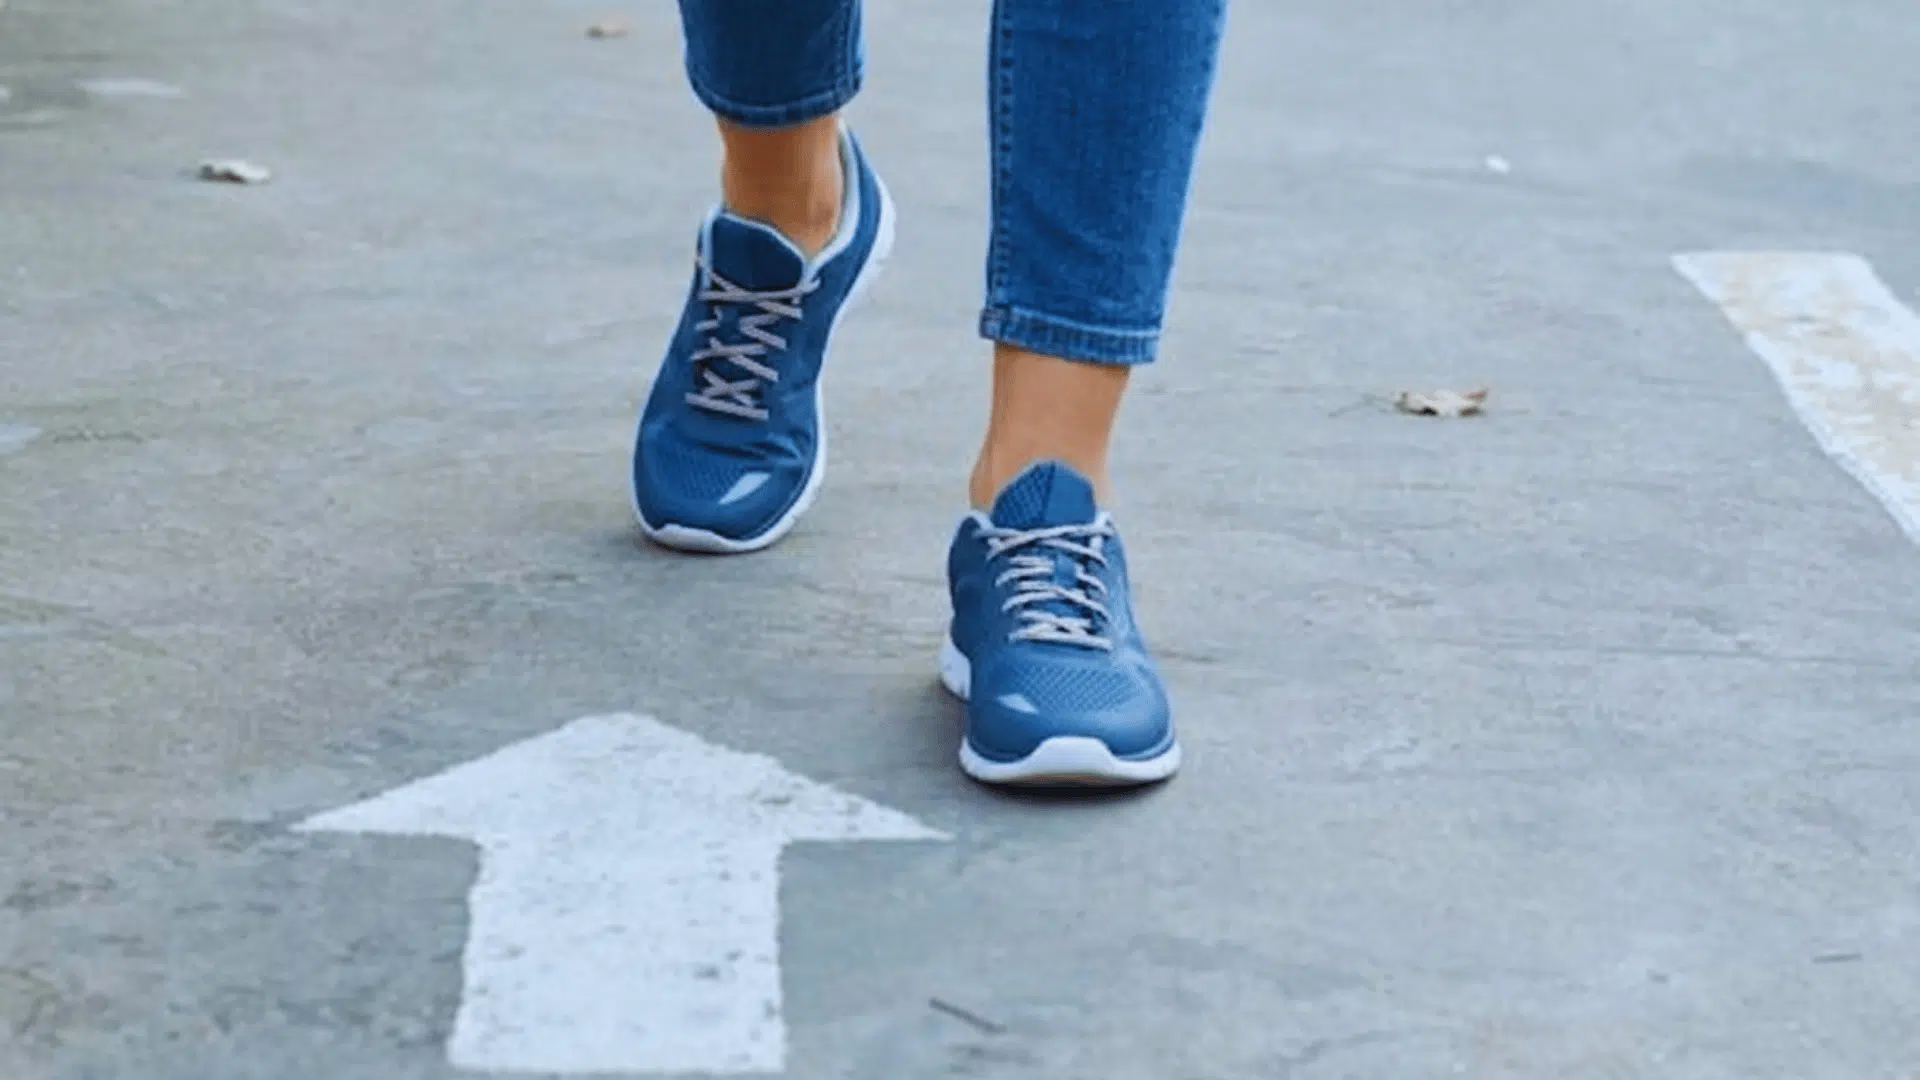
Walking is something most people do every day without giving it much thought. I used to
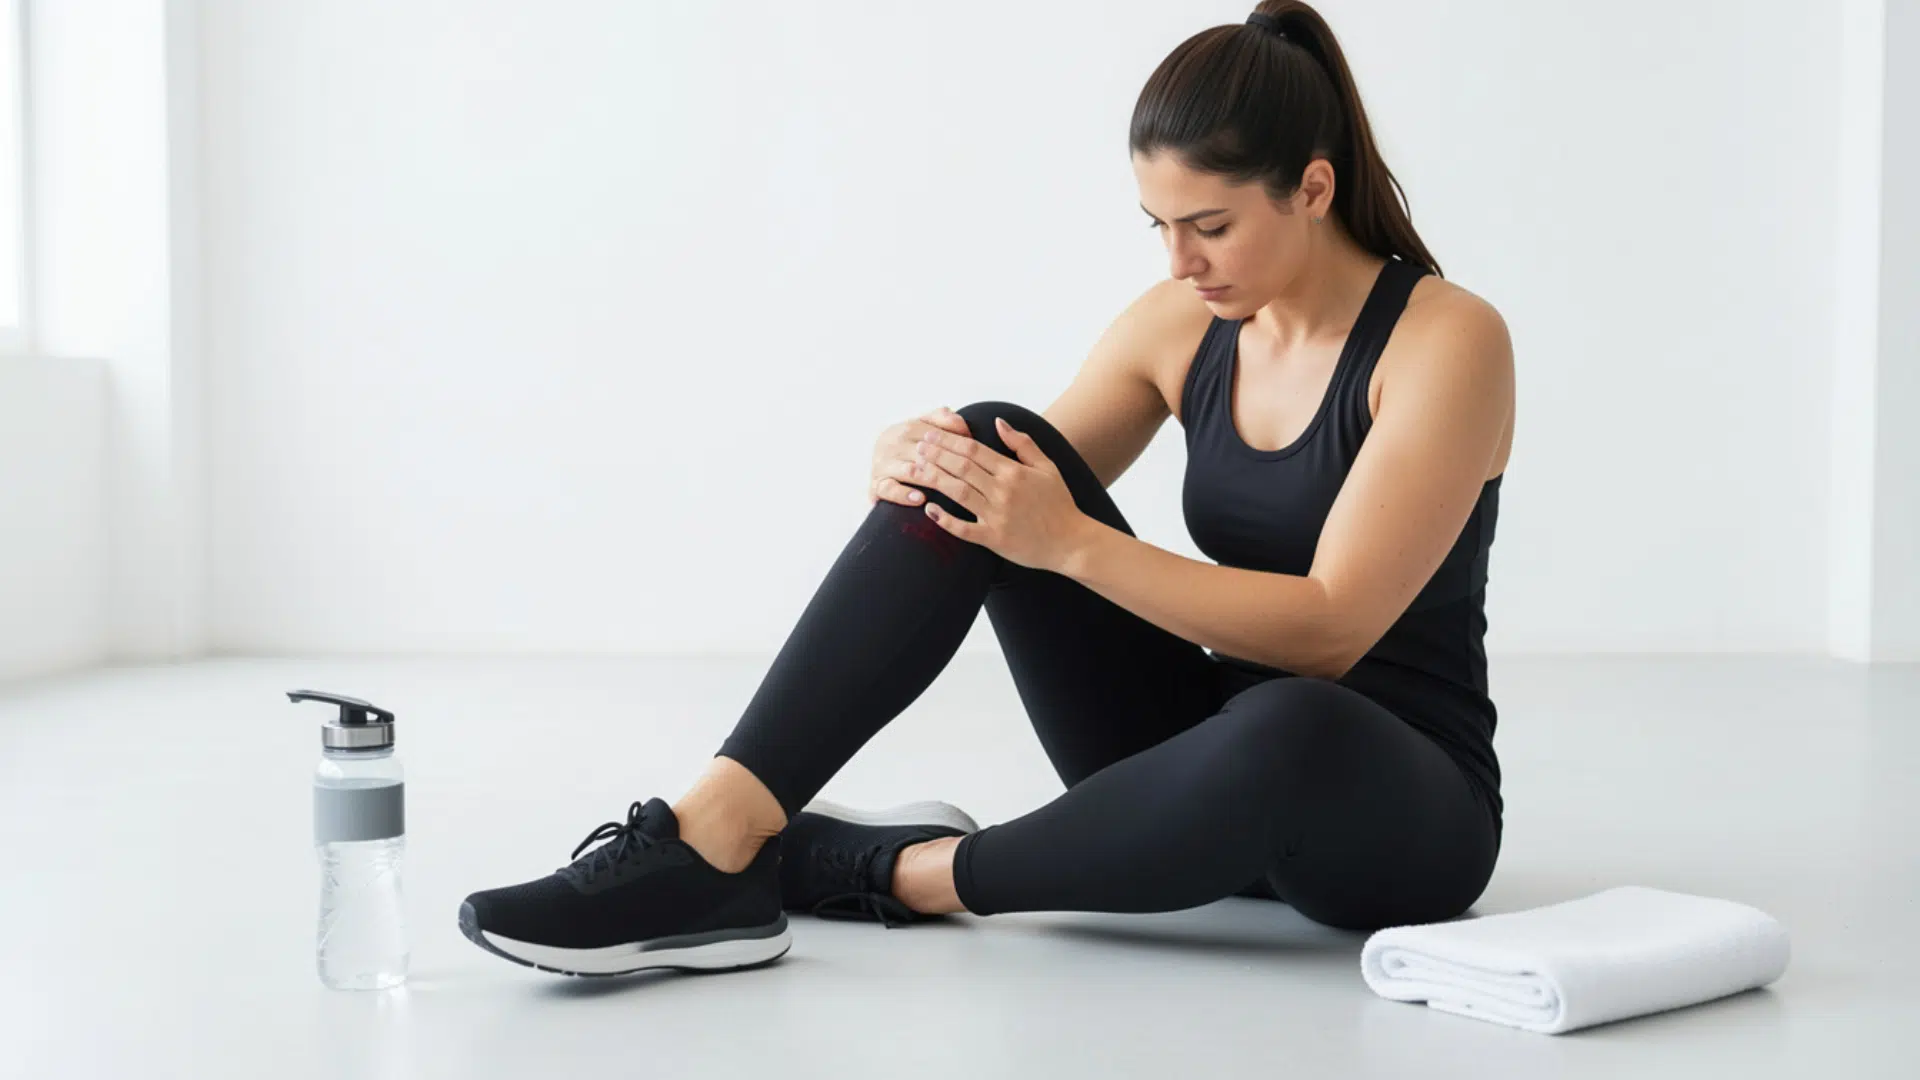
I’ve had those days when even walking up the stairs feels tough after a workout. If