


I’ve been fixing my bike tires for years, and I know how annoying a flat can be, especially when you’re in a hurry. The good part is that once you learn how to change a bike tire, it becomes quick and easy.
I’ve done it so many times that it now feels like a basic skill every rider should have.
In this guide, we will walk through each step in a simple way. You’ll learn how to remove the wheel, take the tire off, check the tube, and put everything back together without stress.
I’ll share the tools you need, common mistakes to avoid, and a few helpful tips I’ve learned over time. By the end, you’ll feel ready to fix a flat on your own and get back to riding with confidence.
Types of Bike Tires You Should Know
Bike tires come in different types, and each works best for a specific riding style. Knowing the basic types helps you choose the right one and handle repairs better.
- Road bike tires: Thin and smooth, built for speed on clean, paved roads with very low resistance
- Mountain bike tires: Wide and strong with deep treads, made for rough trails, dirt, and rocky paths
- Hybrid bike tires: Medium width with light tread, good for city rides and light off-road use
- Tubeless tires: No inner tube, use liquid sealant to reduce flats and hold air better
- Clincher tires: The most common type, used with inner tubes, and easy to repair or replace
- Folding tires: Lightweight and flexible, easy to carry as a spare during long rides
- Touring tires: Strong and durable, designed for long-distance rides with heavy loads
- BMX tires: Small and tough, made for tricks, jumps, and smooth park surfaces
- Gravel bike tires: Slightly wider with light tread, built for mixed surfaces like gravel and dirt roads
- Fat bike tires: Very wide tires made for sand, snow, and soft ground with extra grip
What I use: I personally use clincher tires for most of my rides because they are simple, reliable, and easy to fix when I get a flat. Over time, I’ve tried other types too, but clinchers always feel like the safest and most practical option for daily use, especially when I need a quick repair on the road.
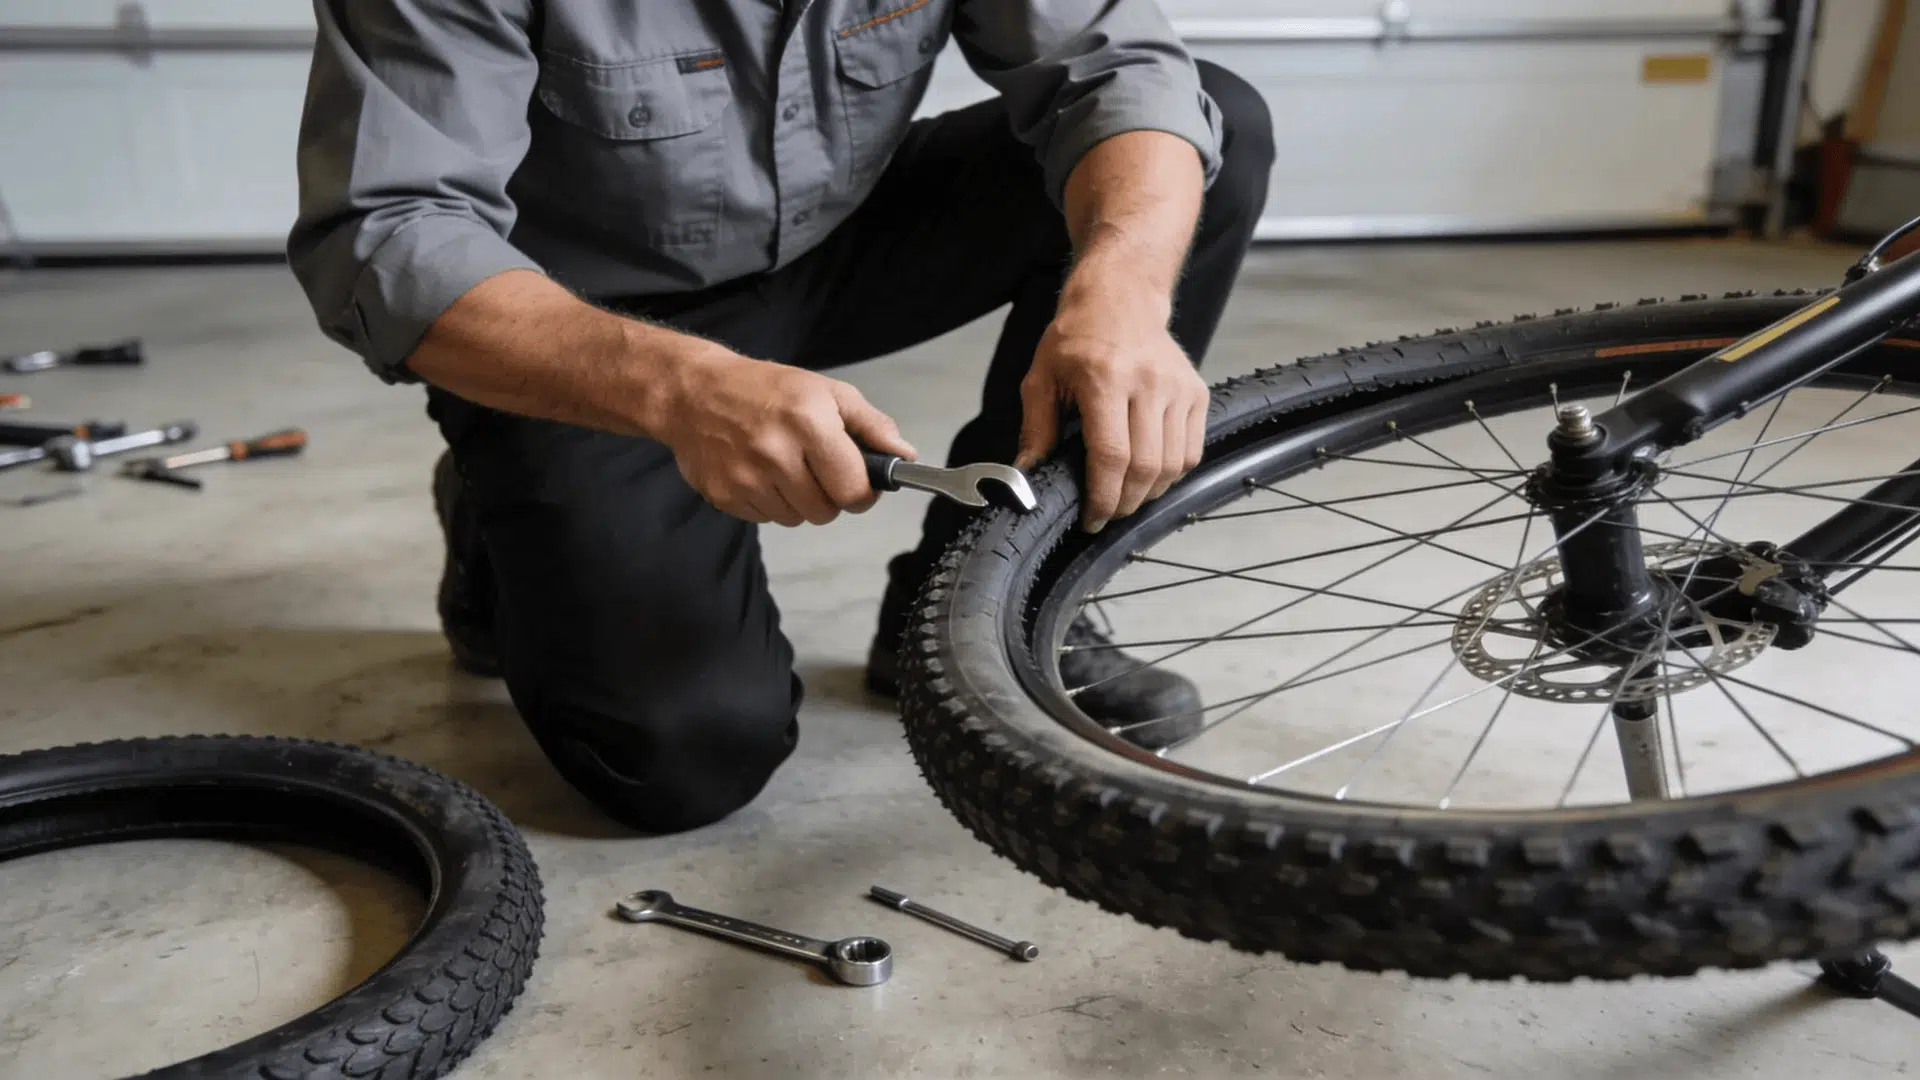
How to Change a Bike Tire: Step-By-Step
Changing a bike tire may seem difficult at first, but it becomes simple once the steps are clear. This guide breaks the process into easy steps so beginners can follow along without confusion.
What You Need to Change a Bike Tire?
To change a bike tire, always keep a few basic tools ready. You don’t need anything fancy, just the right items to make the job easier and faster.
- Tire levers
- CO2 inflator
- Bike pump
- Inner tube
- Patch repair kit
- Multi-tool or wrench
- Spare tire (optional)
- Valve adapter (optional)
- Portable mini pump (optional)
1. Remove the Wheel and Deflate the Tire
Start by removing the wheel from the bike so you can work easily. If your bike has a quick-release lever, open it and pull the wheel out.
If it uses nuts, loosen them with a wrench and remove the wheel carefully. Once removed, release all the air from the tire by opening the valve.
This step is important because a fully deflated tire is much easier to remove and handle during the process.
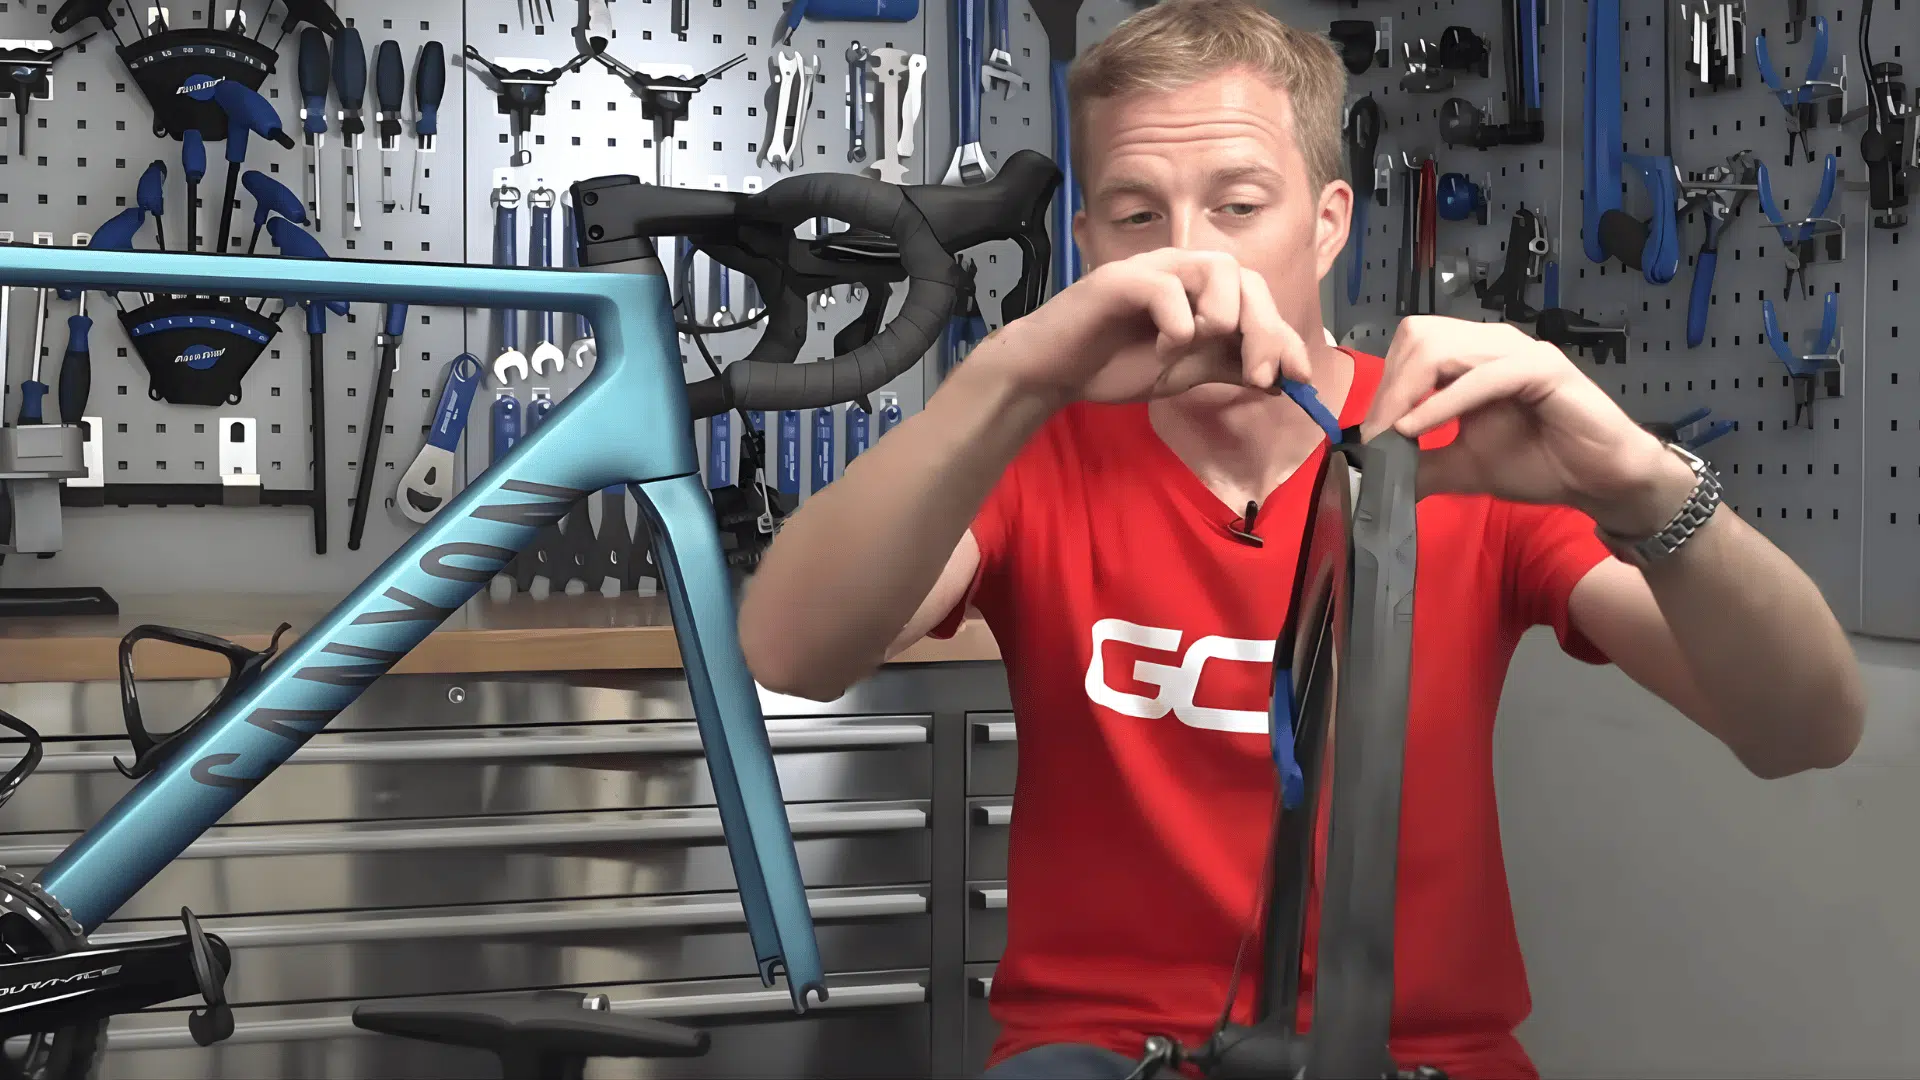
2. Remove the Tire Using Levers
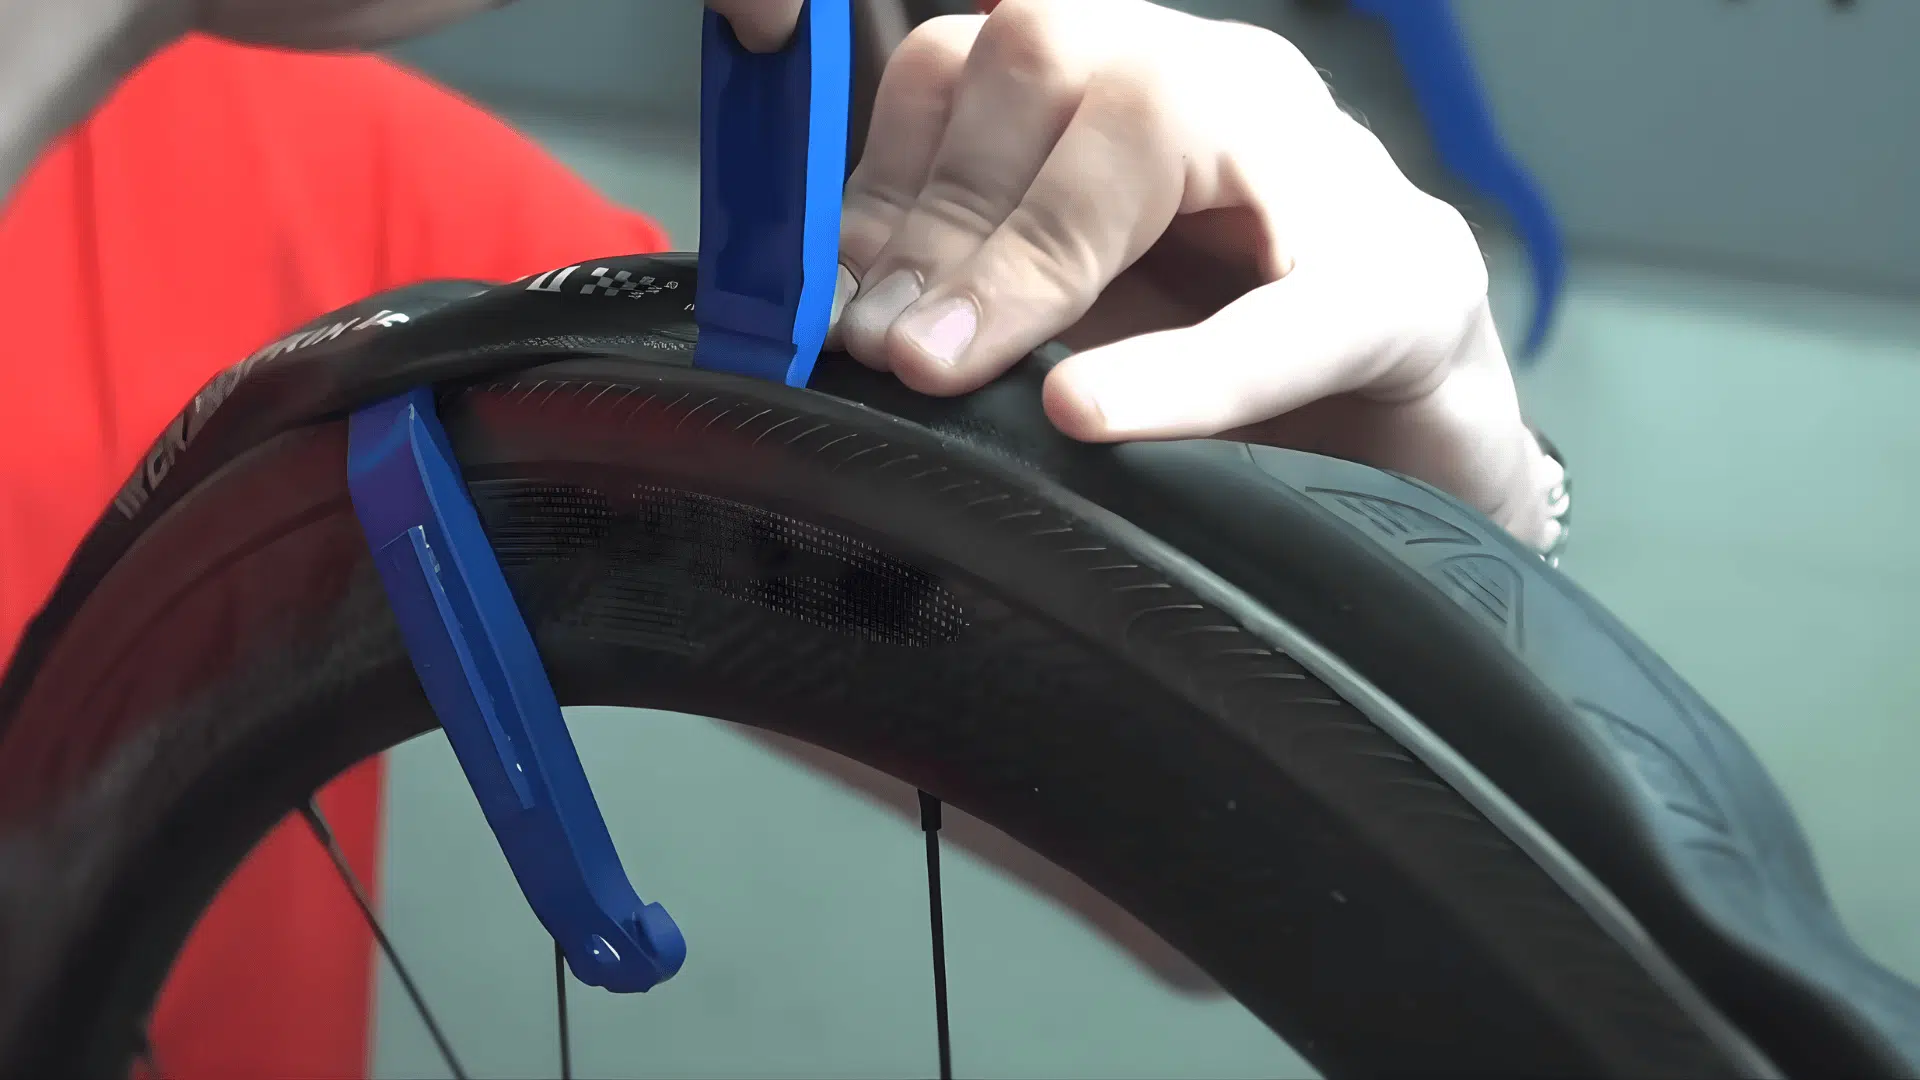
Insert a tire lever between the tire and rim, starting at the opposite side with more space. Hook the lever onto a spoke to hold it in place.
Use a second lever nearby to lift the tire bead over the rim. Slowly work around the wheel until one side of the tire comes off.
Take care during this step to avoid pinching the inner tube, as it can easily get damaged if handled roughly.
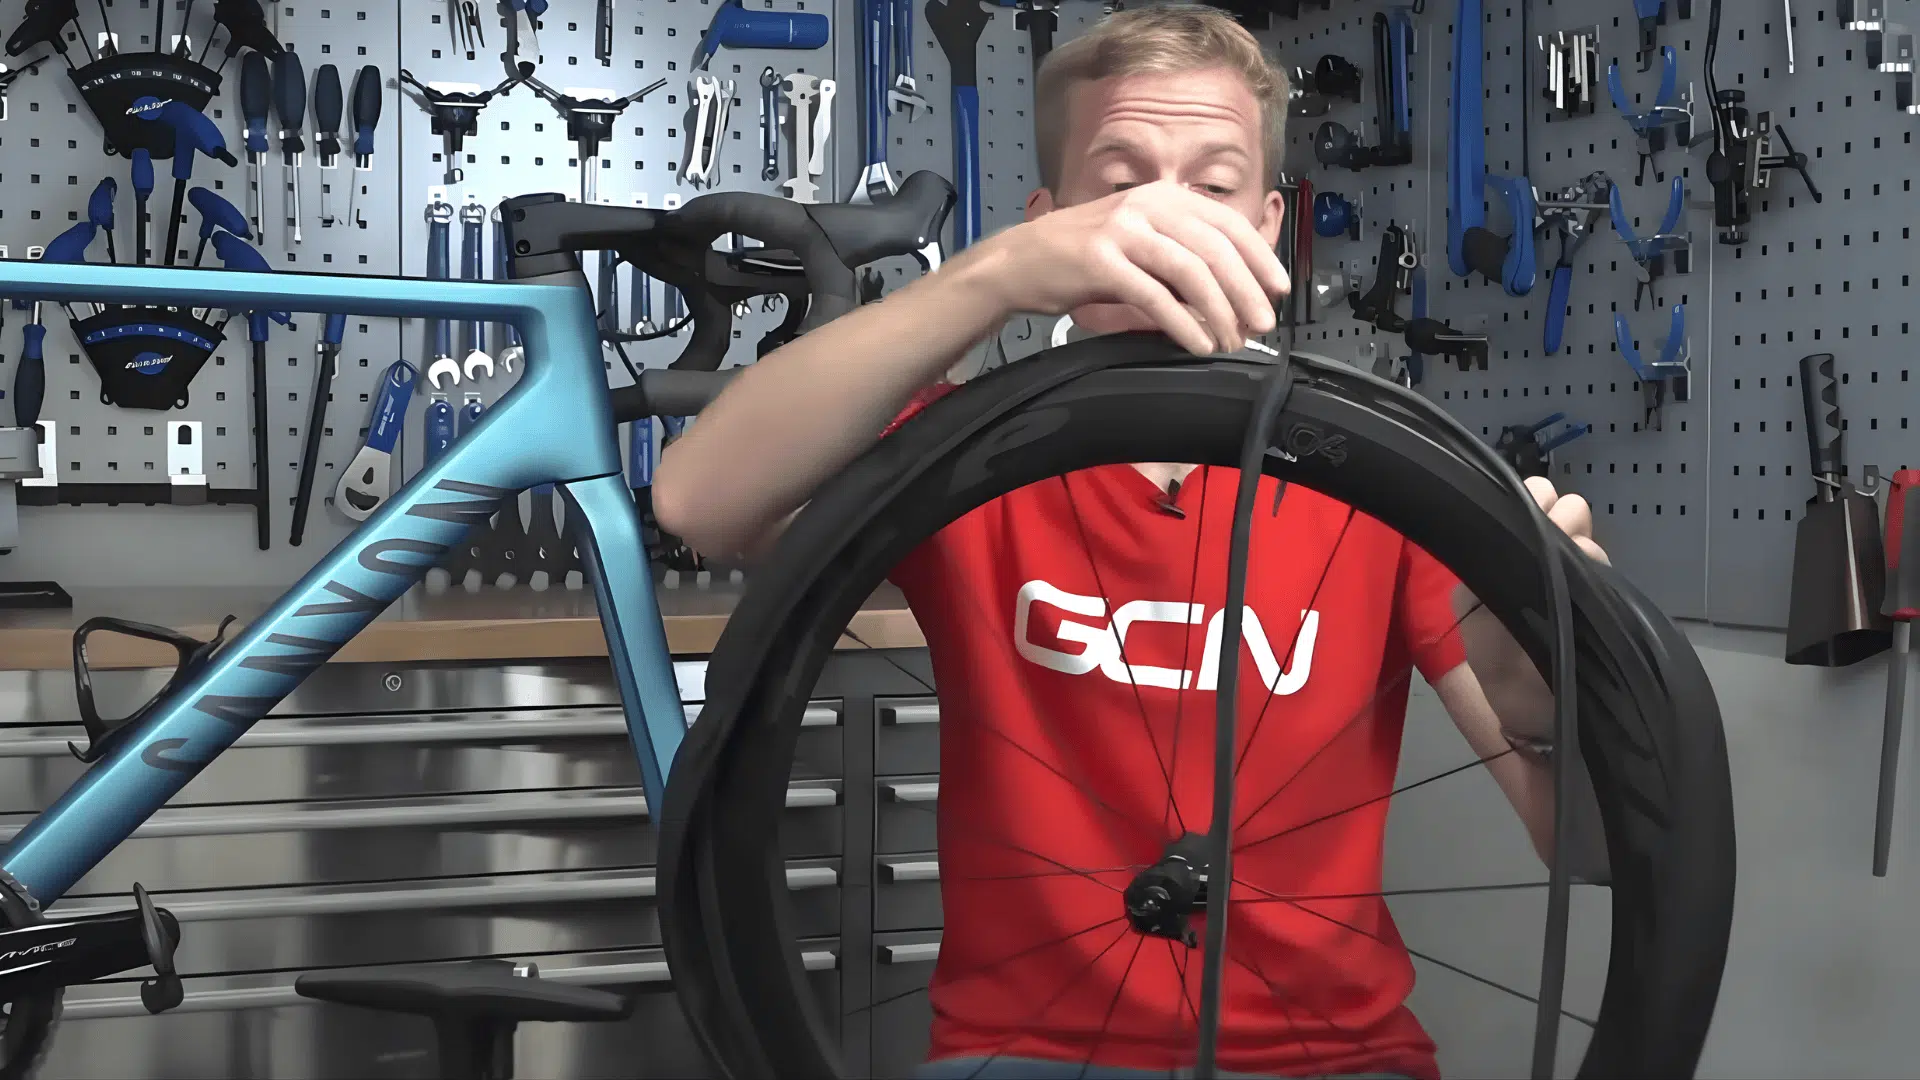
3. Remove the Inner Tube and Inspect
After one side of the tire is off, remove the inner tube from the opposite side, then carefully pull it out.
Once removed, check the tube for any holes, cuts, or damage. Also, inspect the inside of the tire and the rim tape to ensure there are no sharp objects or exposed spoke holes.
This step helps prevent future punctures and ensures the new or repaired tube will last longer.
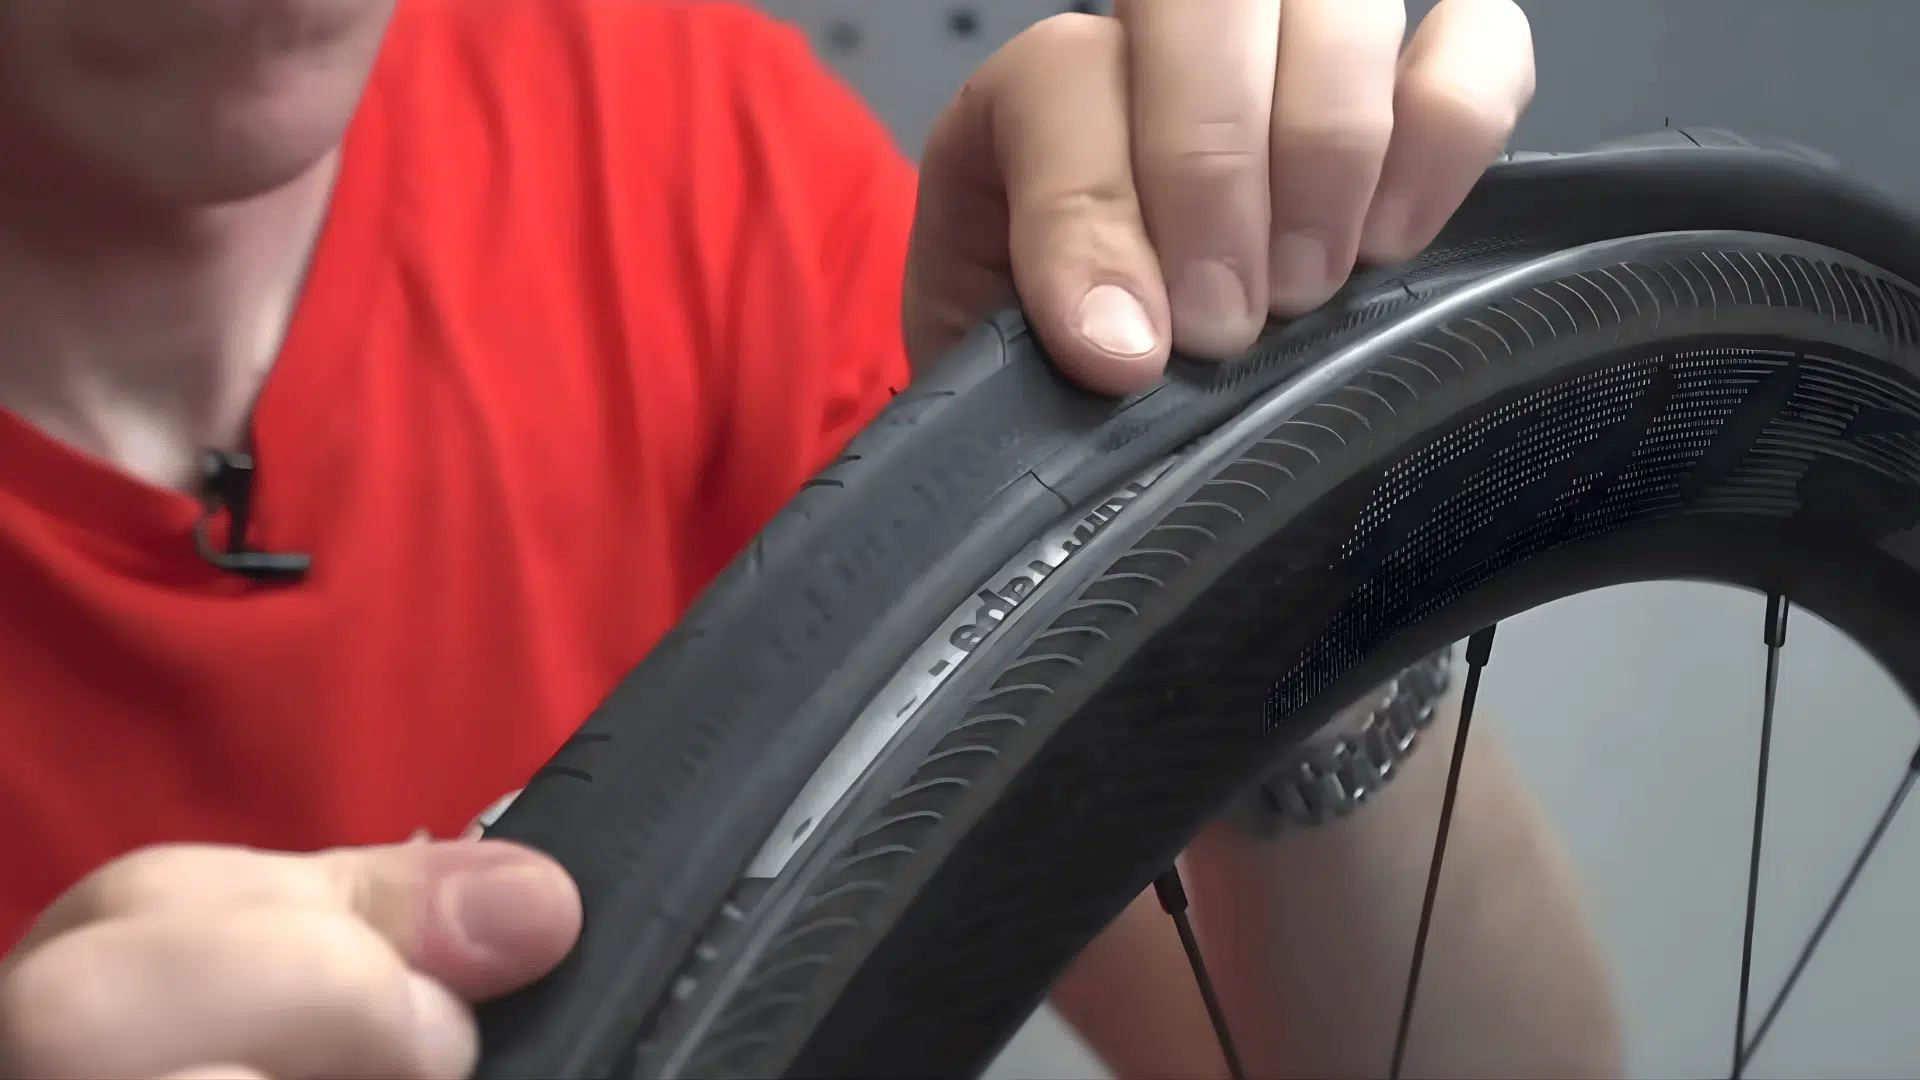
4. Install the Tire and Insert the Tube
Place one side of the tire back onto the rim first. Slightly inflate the inner tube to hold its shape, then insert the valve into the hole and evenly tuck the tube into the tire.
Begin fitting the second side of the tire onto the rim, working around it.
Keep the tire centered in the rim as you go, as this creates slack and makes the final section easier to fit without force.
5. Secure the Tire and Check Position
As you reach the final part of the tire, it may feel tight. Push the tire beads into the center groove of the rim to create extra space.
If needed, use a tire lever gently, making sure not to pinch the inner tube.
Once the tire is fully in place, go around the rim and check that the tube is not trapped between the tire and rim. This step helps avoid damage during inflation.
6. Inflate the Tire and Reattach the Wheel
Add a small amount of air first and check that the tire is seated properly all around. Then inflate it to the recommended pressure shown on the tire sidewall.
Once done, place the wheel back into the bike frame and secure it using the quick-release lever or nuts.
Spin the wheel to ensure it moves smoothly without rubbing. This final check confirms everything is installed correctly and ready for riding.
Common Mistakes to Avoid
Changing a bike tire is simple, but small mistakes can make the process more difficult or cause problems later. Knowing what to avoid can save time and prevent repeat flats.
| Mistake | Explanation | Solution |
| Not fully deflating the tire | Trying to remove a tire with air still inside makes it tight and difficult to remove | Always release all air before using tire levers |
| Using too much force | Forcing the tire can damage the rim or inner tube | Work slowly and use proper technique with levers |
| Pinching the inner tube | The tube can get caught between the tire and rim during installation | Check around the tire before inflating |
| Skipping tire inspection | Sharp objects inside the tire can cause another flat | Always check the tire and rim for debris |
| Wrong tire direction | Some tires have rotation arrows for better performance | Align the tire based on the direction arrow |
| Over or under-inflating | Incorrect pressure affects ride quality and safety | Follow the recommended PSI on the tire sidewall |
| Not checking the rim tape | Old or shifted rim tape exposes spoke holes that can puncture a new tube | Inspect and replace rim tape if it has moved or shows wear |
| Buying the wrong tube size | Tubes that are too large bunch up; tubes that are too small stretch and fail under pressure | Match the tube size exactly to the numbers printed on your tire sidewall |
Quick Tips for Faster Tire Changes
Changing a bike tire gets much faster with a bit of practice and the right approach. Small habits and tricks can save time and make the process smoother.
- Carry Basic Tools: Always keep tire levers, a spare tube, and a pump with you
- Start Opposite the Valve: This gives more space and makes tire removal easier
- Use Two Tire Levers: Helps remove tight tires without too much effort
- Slightly Inflate the Tube: Gives it shape and makes installation easier
- Work Evenly Around the Rim: Avoid rushing one side to prevent tight spots
- Check for Debris Inside the Tire: Stops repeat punctures after fixing
- Push the Tire Into the Rim Center: Creates slack when fitting the last section
- Avoid Overusing Tire Levers: Reduces the chance of damaging the tube
- Practice at Home: Builds confidence before fixing a flat outside
Tip: When a tire feels too tight, taking a moment to adjust the bead into the rim center usually solves the issue. I also always double-check for pinched tubes before full inflation, because fixing the same flat again is something I learned the hard way to avoid.
When to Replace Instead of Repair?
Sometimes, repairing a bike tire is not the best option. While small punctures can be fixed easily, there are cases where replacing the tire or tube is safer and more reliable.
Riding on a damaged tire can lead to sudden flats or loss of control. It’s always better to check the condition of your tire before deciding to repair or replace it.
You should replace the tire or tube if you notice deep cuts, worn tread, sidewall damage, or repeated punctures at the same spot.
If the tire looks thin or cracked, it won’t hold up well on the road. In these cases, replacing it saves time and prevents future problems.
From what I’ve seen with my bike, when a tire starts getting too worn or keeps getting flats again and again, repairs stop being worth it.
Replacing it early has saved me from getting stuck mid-ride, especially on longer routes where quick fixes don’t always last.
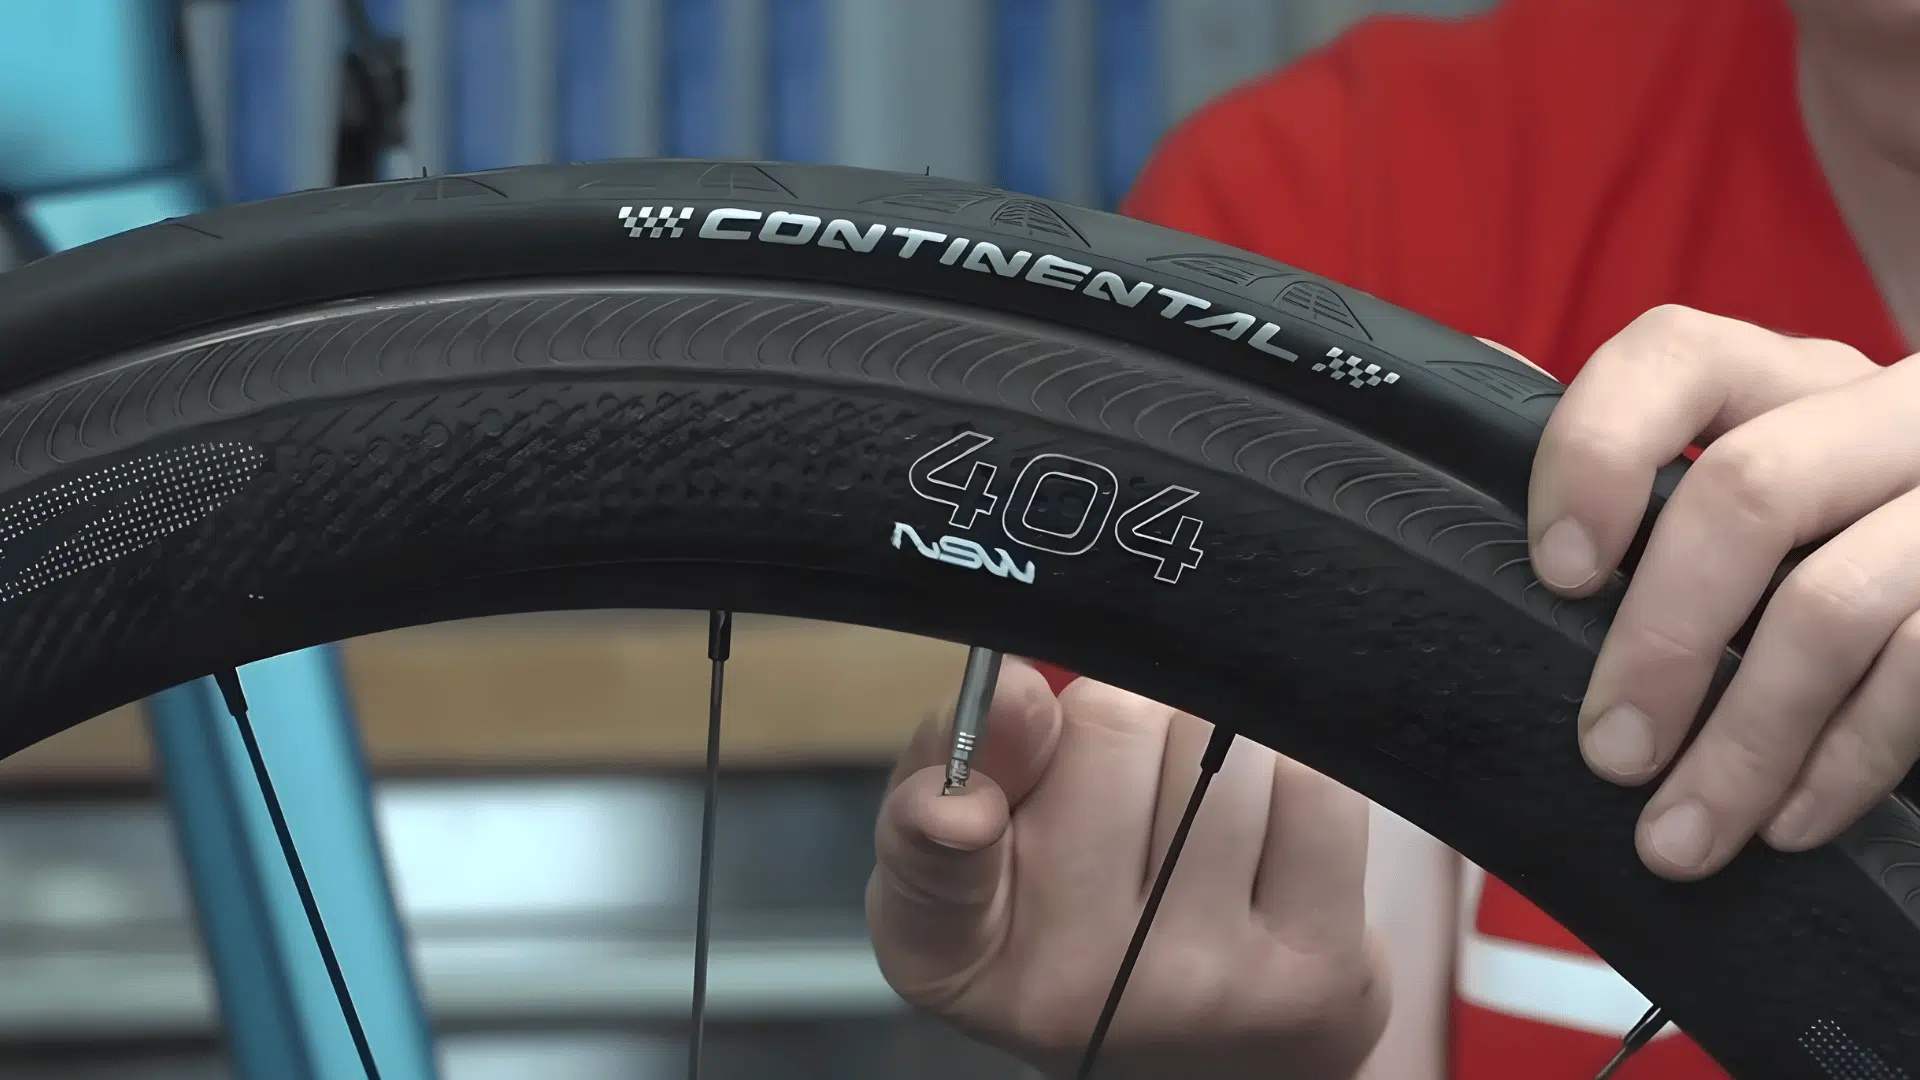
Presta vs. Schrader Valves: What You Need to Know?
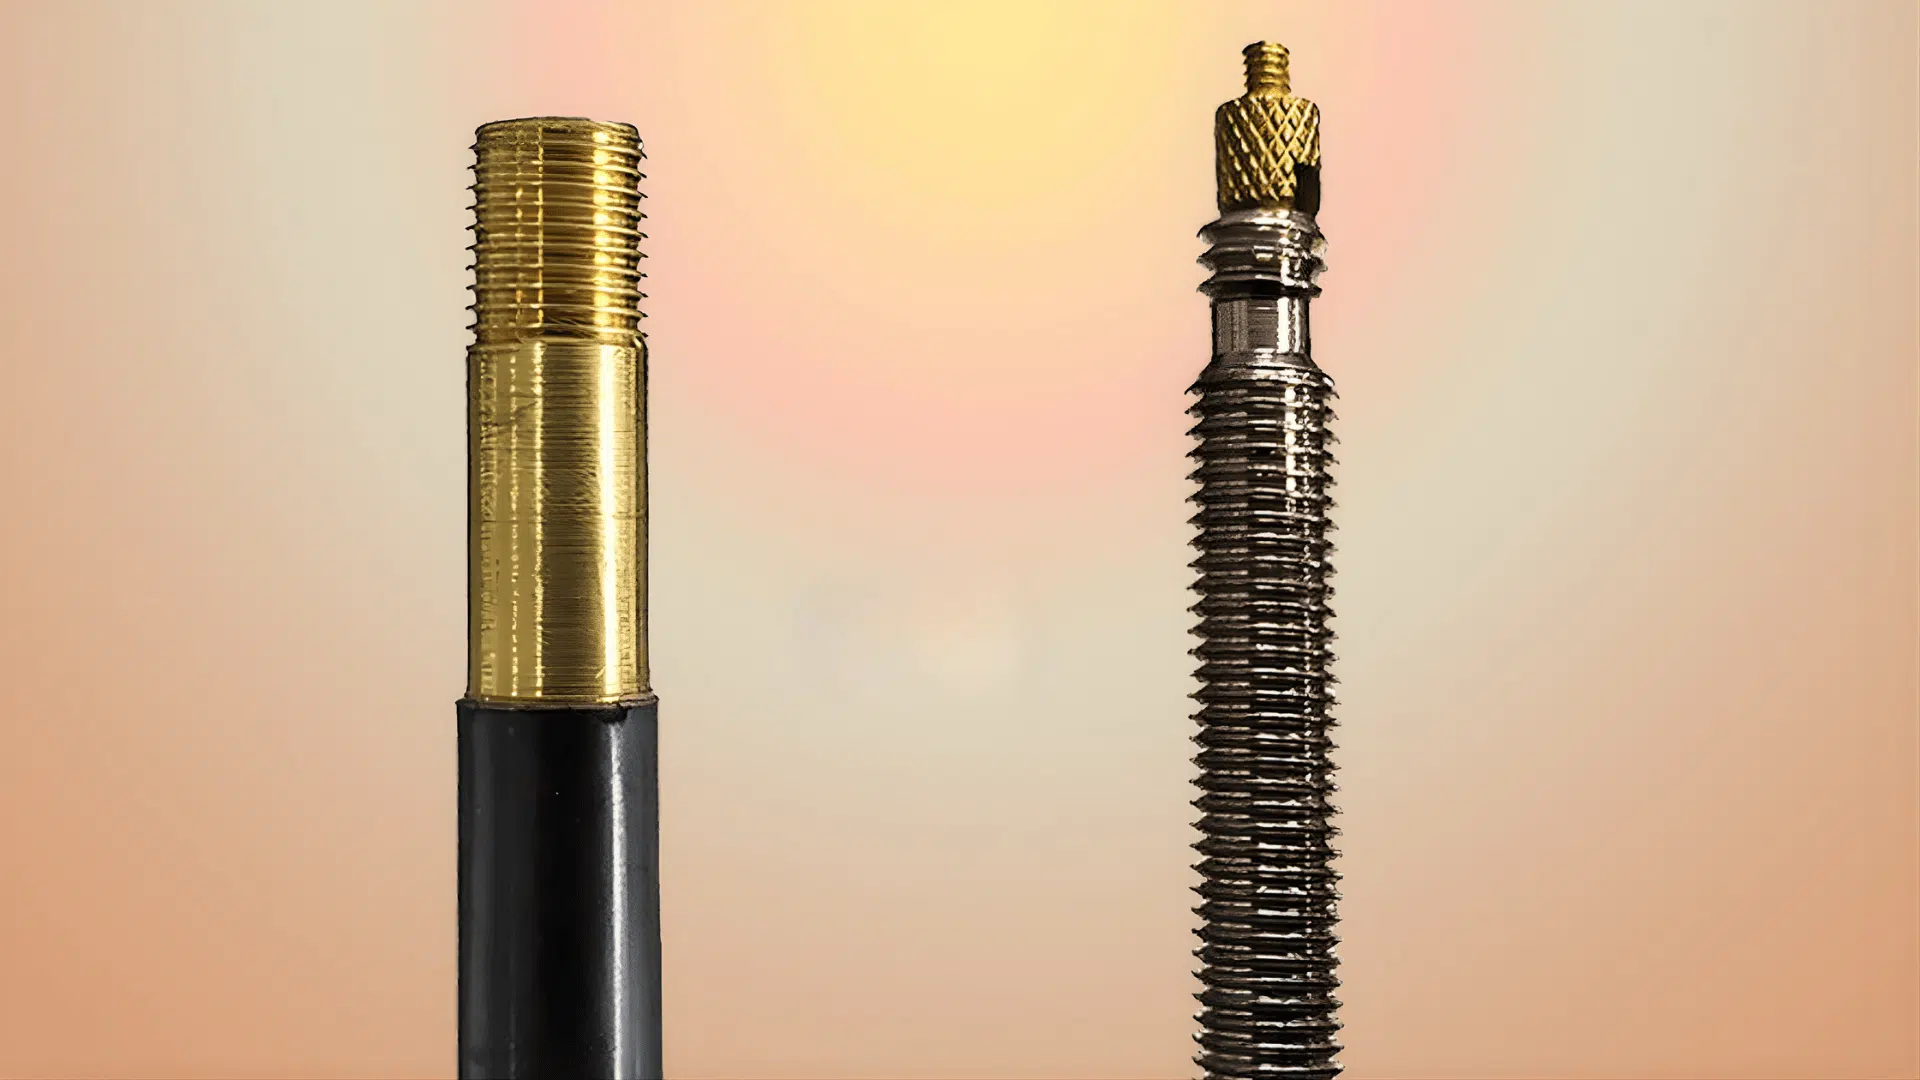
Most riders encounter two valve types and are unsure which pump or adapter they need.
Presta valves are longer and narrower, with a threaded tip and a small locking nut at the top. They are standard on road and higher-end mountain bikes.
Schrader valves are shorter and wider, like the ones on car tires, and are common on entry-level bikes and BMX bikes.
Before buying a replacement tube, confirm which valve type your rim is drilled for; the hole size is different, and the wrong valve will not seat correctly.
Most floor pumps work with both, but handheld pumps and CO2 inflators may be valve-specific.
How to Use a Patch Kit Correctly
Fixing a tube with a patch kit is simple when done right, but small mistakes can cause quick failure and leave you stuck mid-ride.
- Slightly inflate the tube, then carefully check for escaping air by listening or feeling for leaks.
- Mark the exact hole location clearly so you don’t lose track during the repair.
- Use sandpaper to roughen the area around the hole to help the patch bond securely.
- Apply a thin, even layer of cement and wait until it dries and no longer feels tacky.
- Press the patch firmly onto the surface and hold steady pressure for at least one full minute.
- Peel the backing from the edges inward to avoid lifting or weakening the patch seal.
- Allow the patch to set for a few minutes before reinflating the tube and checking for leaks.
Taking your time with each step ensures a strong, lasting repair, helping you get back on the road confidently without worrying about another sudden flat.
Final Thoughts
Fixing a bike tire is one of those skills that really pays off. I’ve had many rides saved just because I knew what to do and had the right tools with me.
Once you go through the steps a few times, it starts to feel natural and much less stressful.
What matters most is staying calm, checking things carefully, and not rushing the process. Small steps like looking for sharp objects or setting the right air pressure can make a big difference.
I’ve learned that these little habits help avoid repeat problems and keep rides smooth.
Over time, you’ll get faster and more confident each time a flat happens. It’s all about practice and paying attention to details.
If this guide helped you, feel free to share it with other riders or drop your own tips below. I’d love to hear what works best for you!
Frequently Asked Questions
Can You Reuse an Old Inner Tube After a Puncture?
Yes, if the damage is small and properly repaired with a patch kit.
What Pressure Should a Bike Tire be Inflated To?
The correct pressure is printed on the tire sidewall and should be followed.
Is it Okay to Ride with a Slightly Flat Tire?
Riding on a low tire can damage the rim and increase the risk of accidents.
Should Both Tires be Replaced at the Same Time?
It is not necessary unless both tires show signs of wear or damage.
Can a Tubeless Tire be Fixed the Same Way as a Regular Tire?
No, tubeless tires use sealant and require a different repair method.


